
With this simple guide, you will be able to build your line in The BUS editor.
Introduction.
Editors and plans.
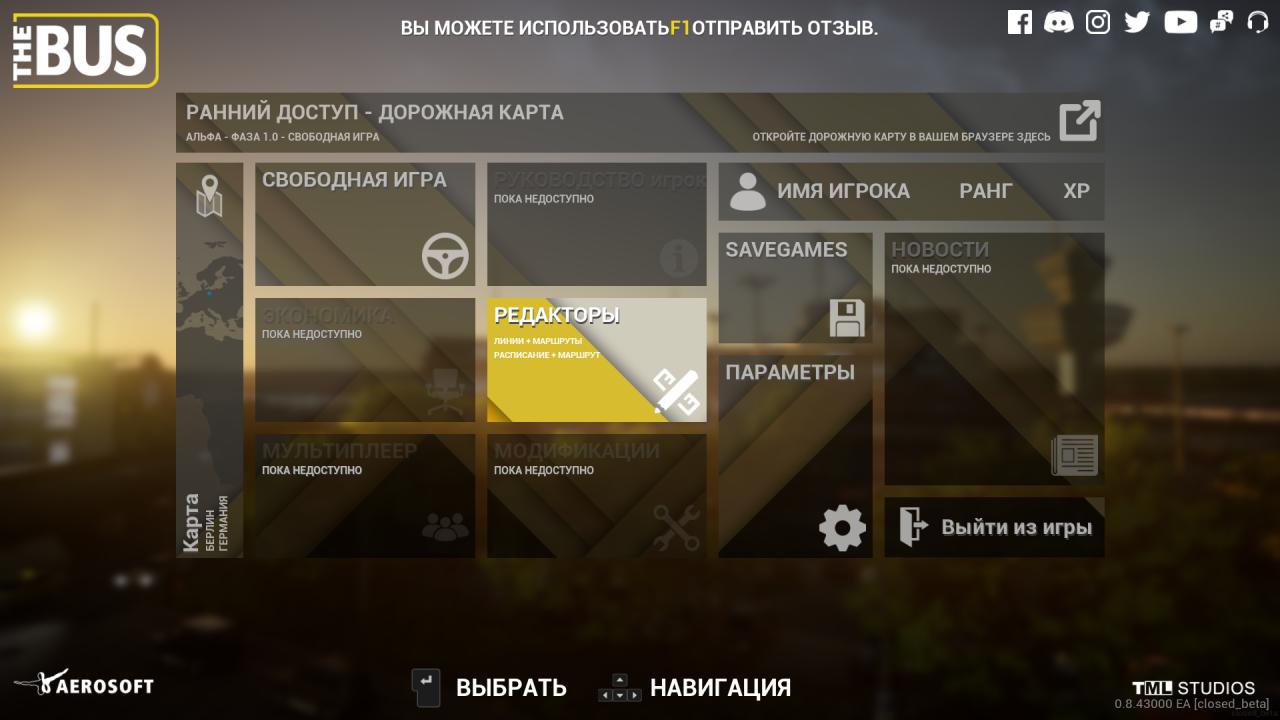 Further, our gaze is presented with a menu called "PLANS". So that we can freely build our line across the entire map, select the "Work Plan" of the player, not "Work Plan" standard. Why is that? because, that the "Work Plan" standard will allow us to edit only the already existing TXL line, and we are not here for that, to drive again on already painfully familiar streets. Shorter, click on the "Work plan" of the player. Yes, the one that is lighter in the picture below.
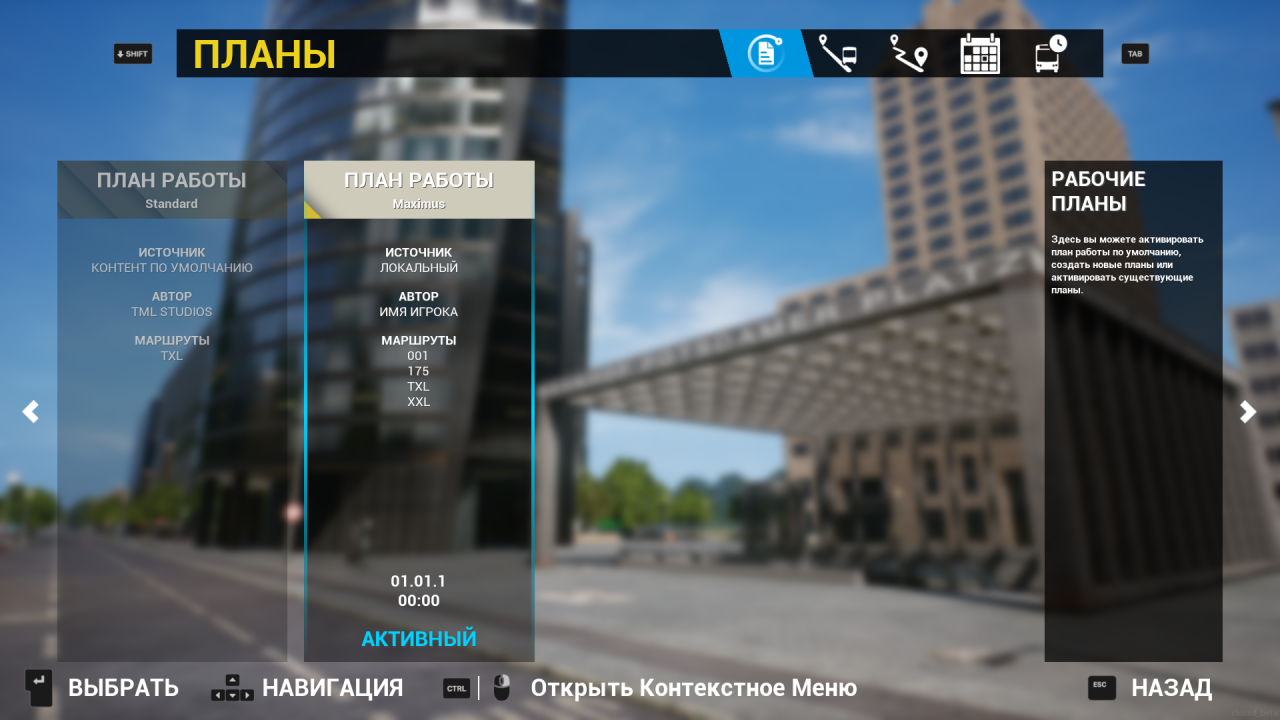
Routes.
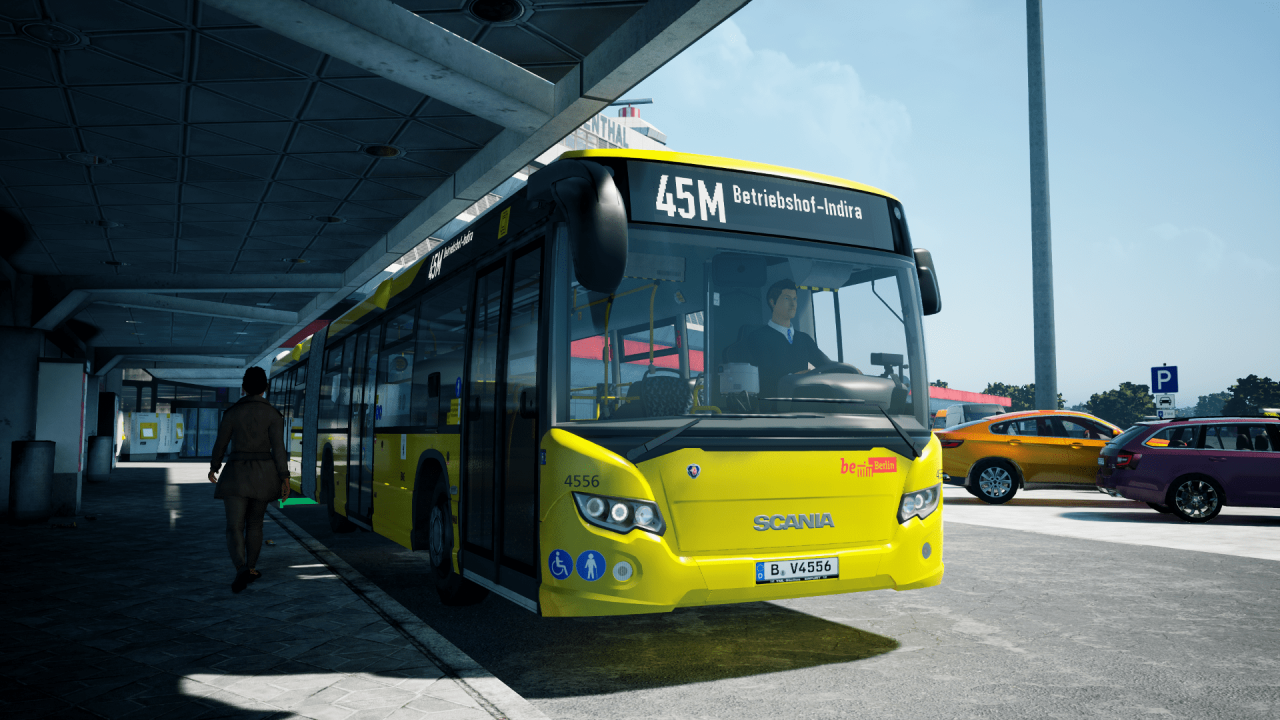
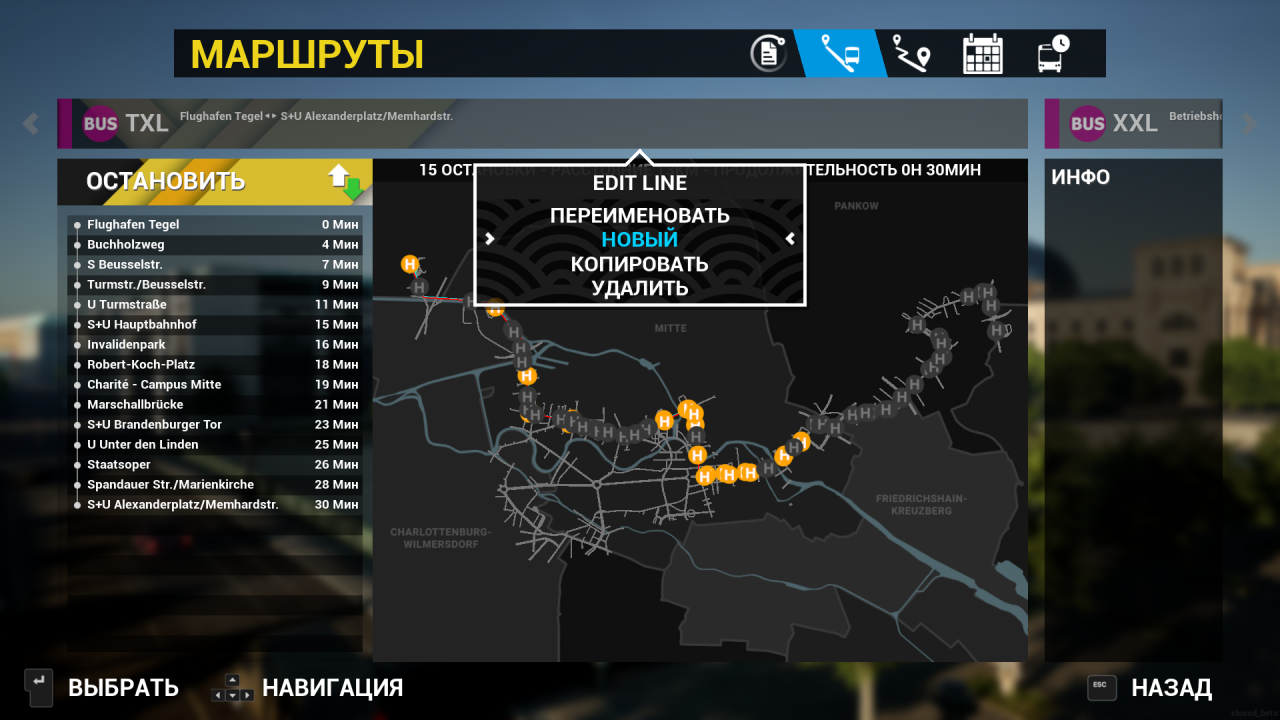 If we are not satisfied with how the game called our new line, it can be renamed by clicking on "RENAME", can be entered as numbers, and letters. This point is completely optional and you can safely skip it., then the game itself will give the number of your new line. Now let's call the 45M line along the way..
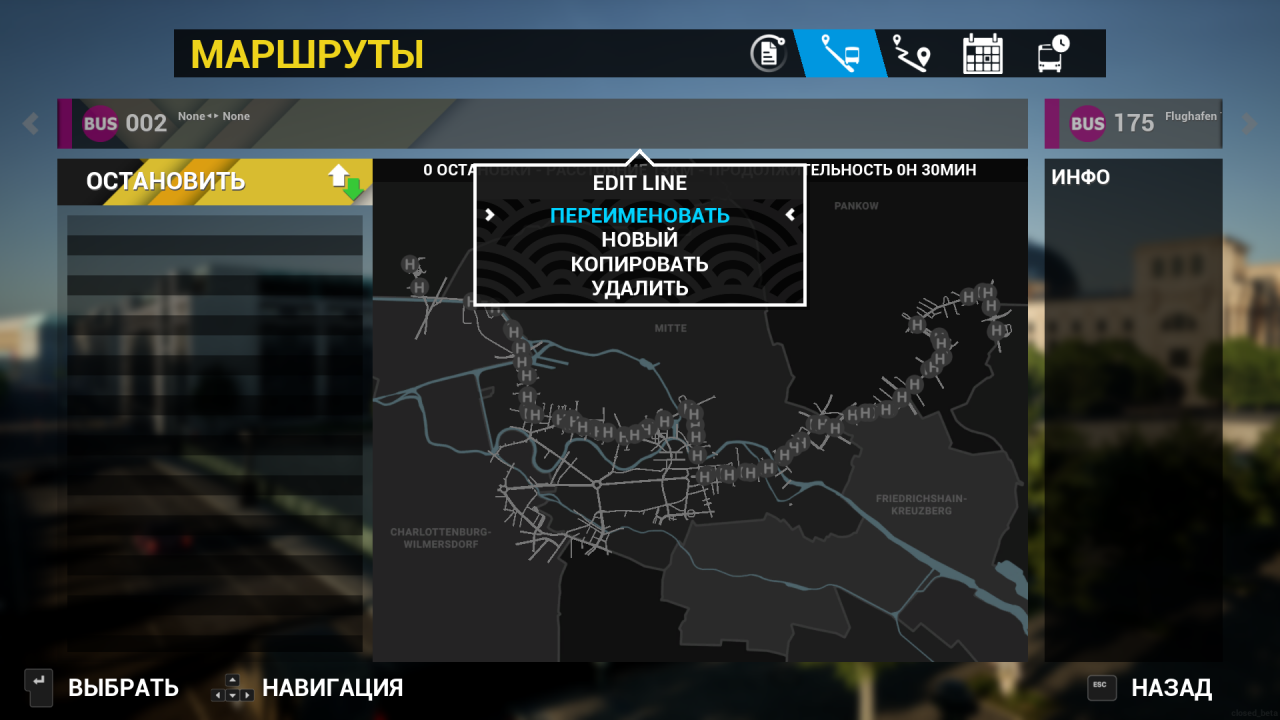 Next, we once again click on the strip with the name of the line, but now not with the right mouse button, and left. Left-click and saw, that all stops on the map are now yellow.
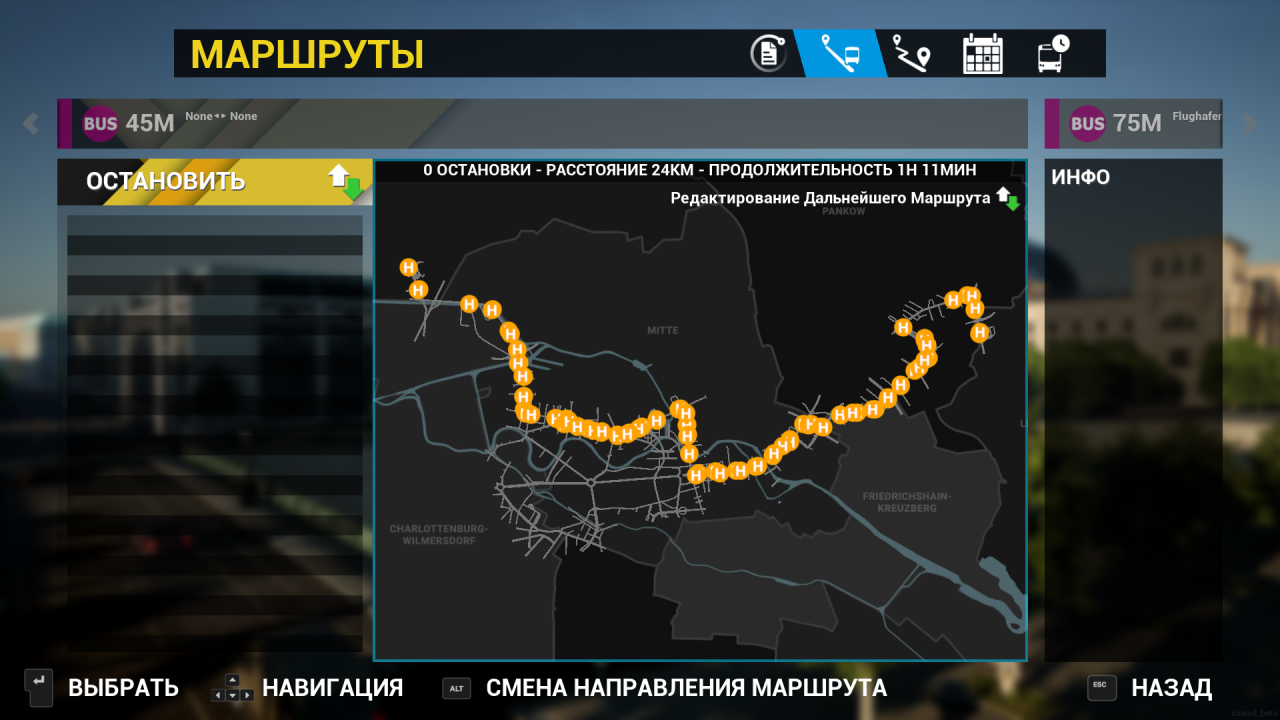 Now you can start building your own line. Left-click on the first stop, a green circle appears around it, do not be alarmed, it's not a curse, on the contrary, it means, that we are doing everything right. Then, clearly in the direction of travel, we begin to plot the route by clicking on the stops we like. If you do everything right and do not confuse stops in the direction, then we will see how a red line will be drawn from stop to stop. The main thing is to press stops in the direction and not to be confused with stops that are on the other side of the road., otherwise your red line will not be straight, but you can't build a tangled line. for example, we start to build a route from the airport Tigel and we need to click on the stops that are located in the direction from the airport, and not you, what lead to him. It is important, don't mix it up.
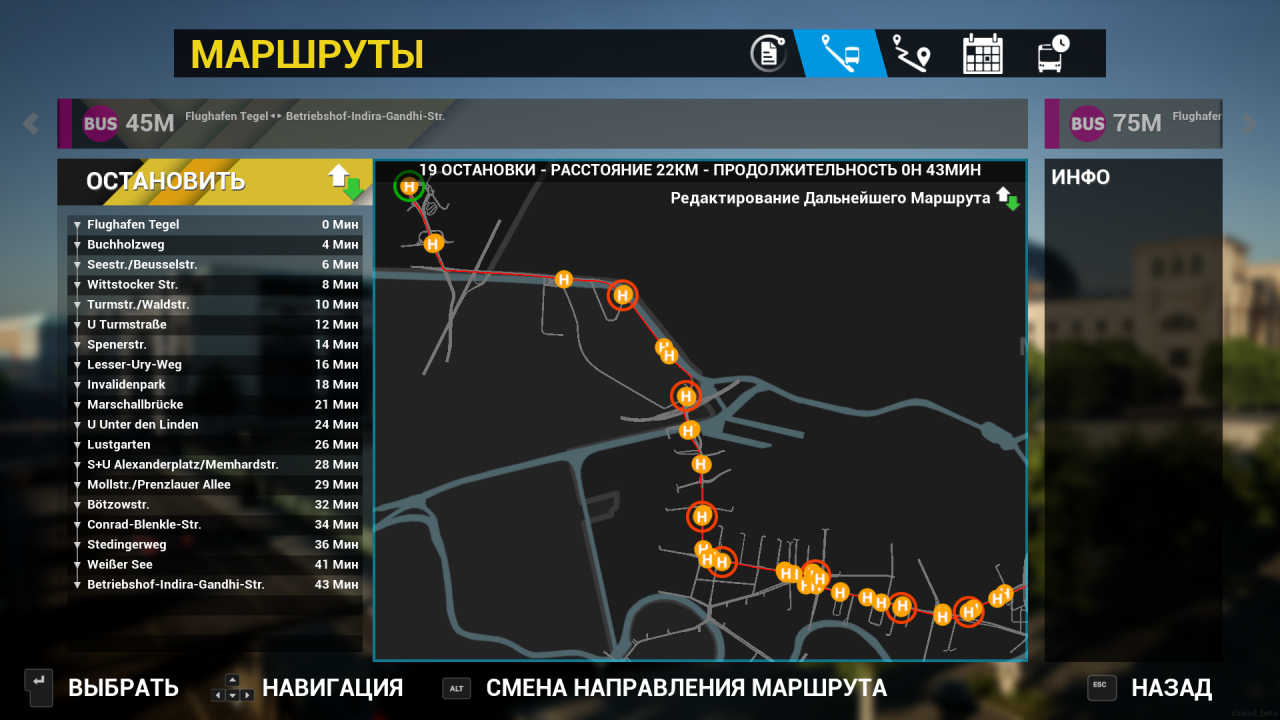 Now we have built our route directly to the depot, which is located at the very end of the map on Indira Gandhi Street. We came here not to joke, build like this build. But how to get the route in the opposite direction? Very simple. You need to press ALT once on the keyboard and, in the same way, route in the opposite direction.. We start from the terminal on Indira Gandhi street, but now we click on the stop on the other side of the road and plot the return route to the Tigel airport. Return route line blue. Click on the stops you like and remember, that the direction cannot be confused, we get to the airport and click on the stop of the Tigel airport itself and our line is ready.
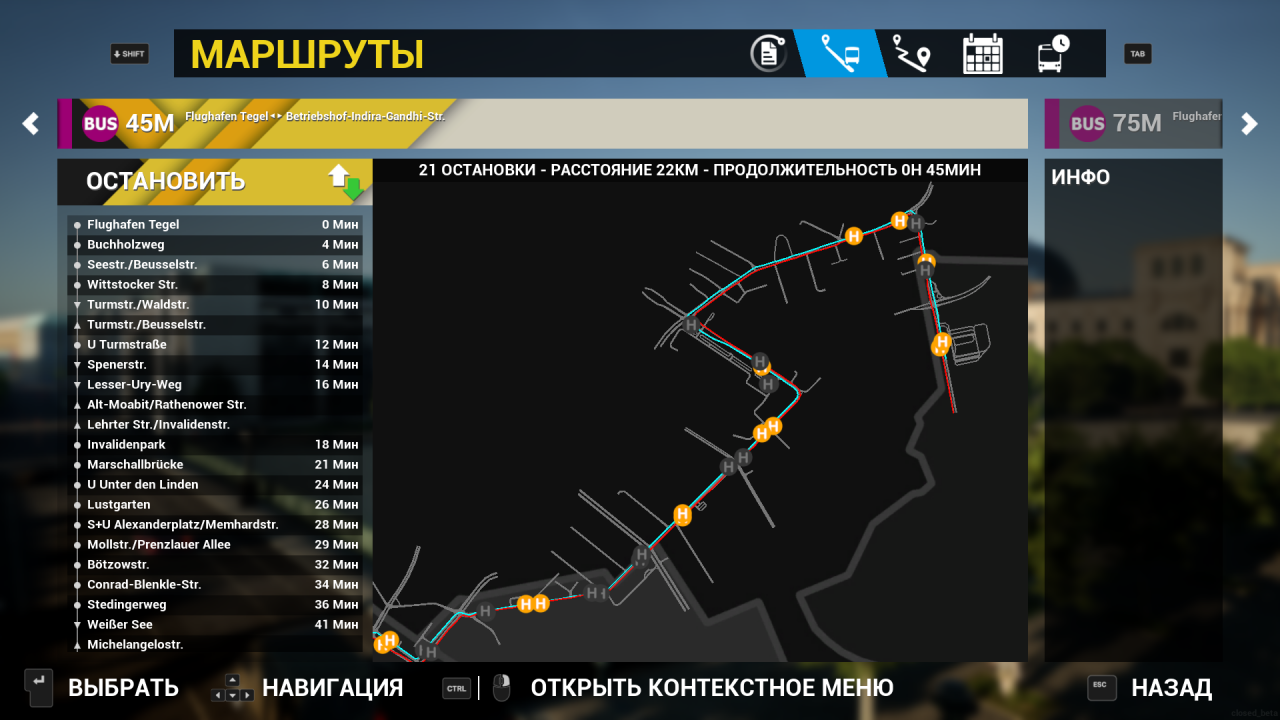
schedule.
Next, under the dividing strip, we do the same., but the squares there will be dark green, this is the reverse route.
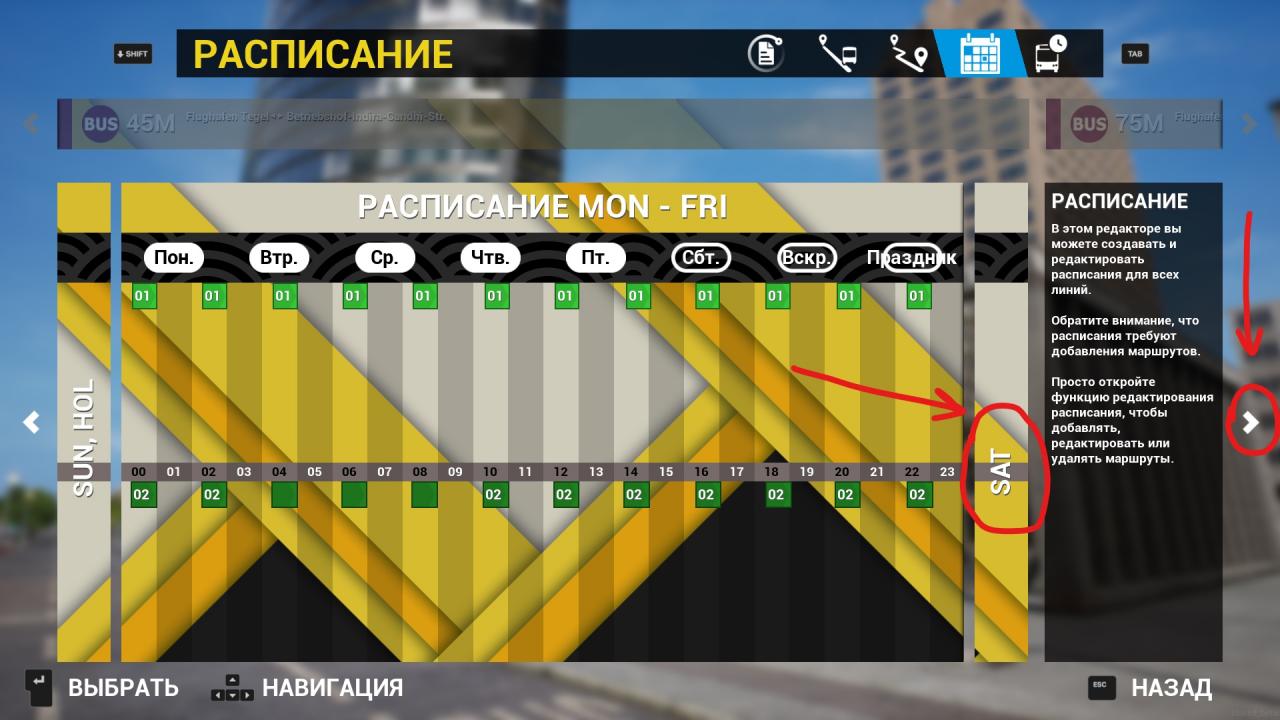
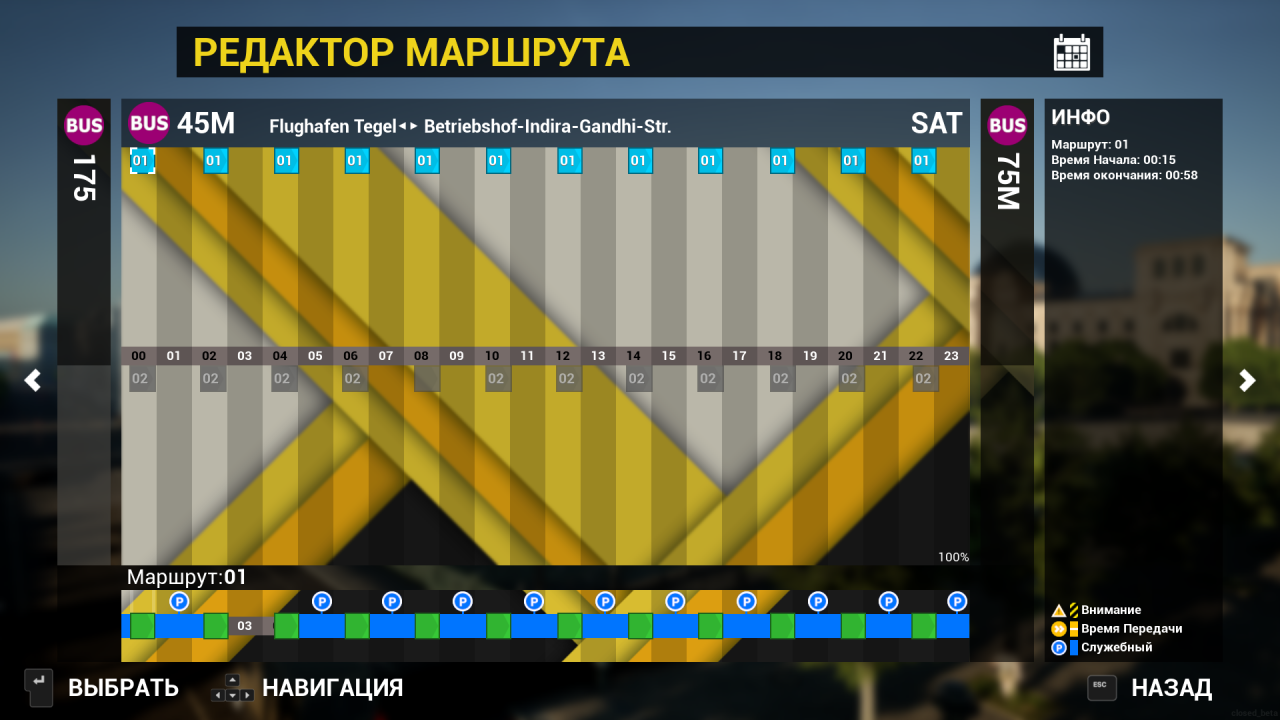
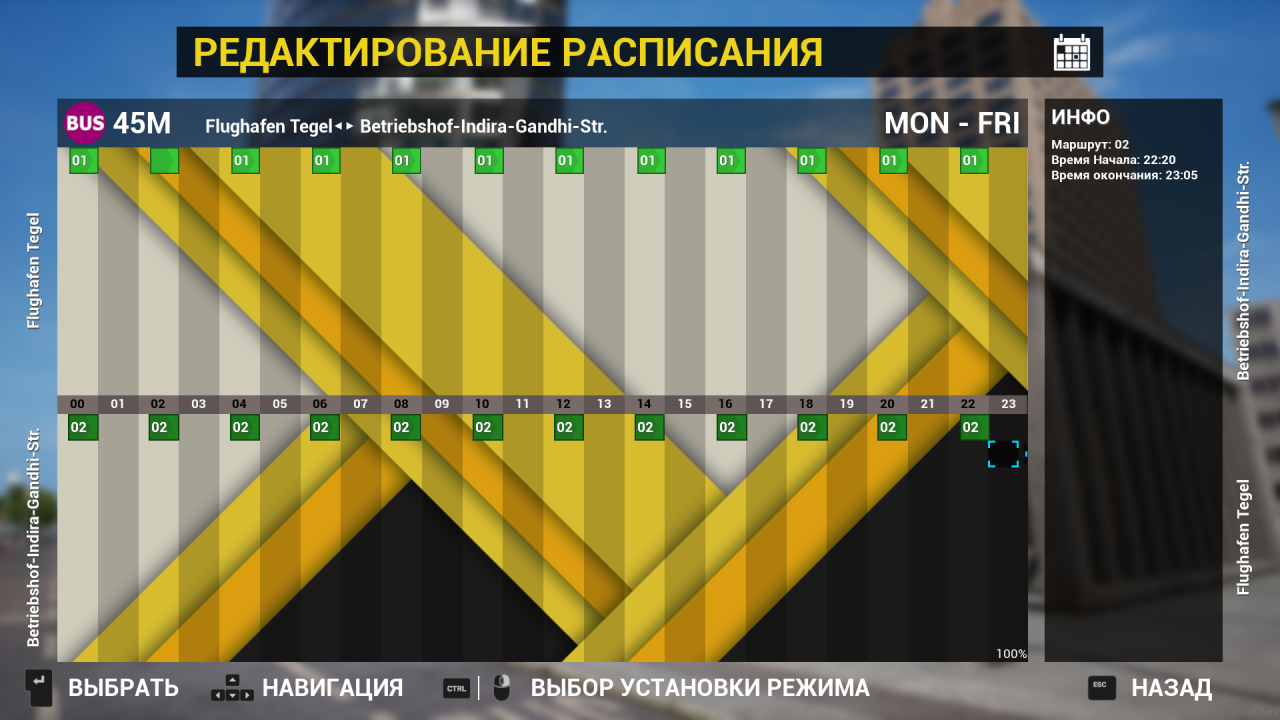 Set the squares, press "ESC" and get to the initial page of the "SCHEDULE" tab. We carefully look to the right and see from the side a vertical strip with the inscription "SAT" and an arrow on the very edge. Look at the picture and click on the arrow circled in red.
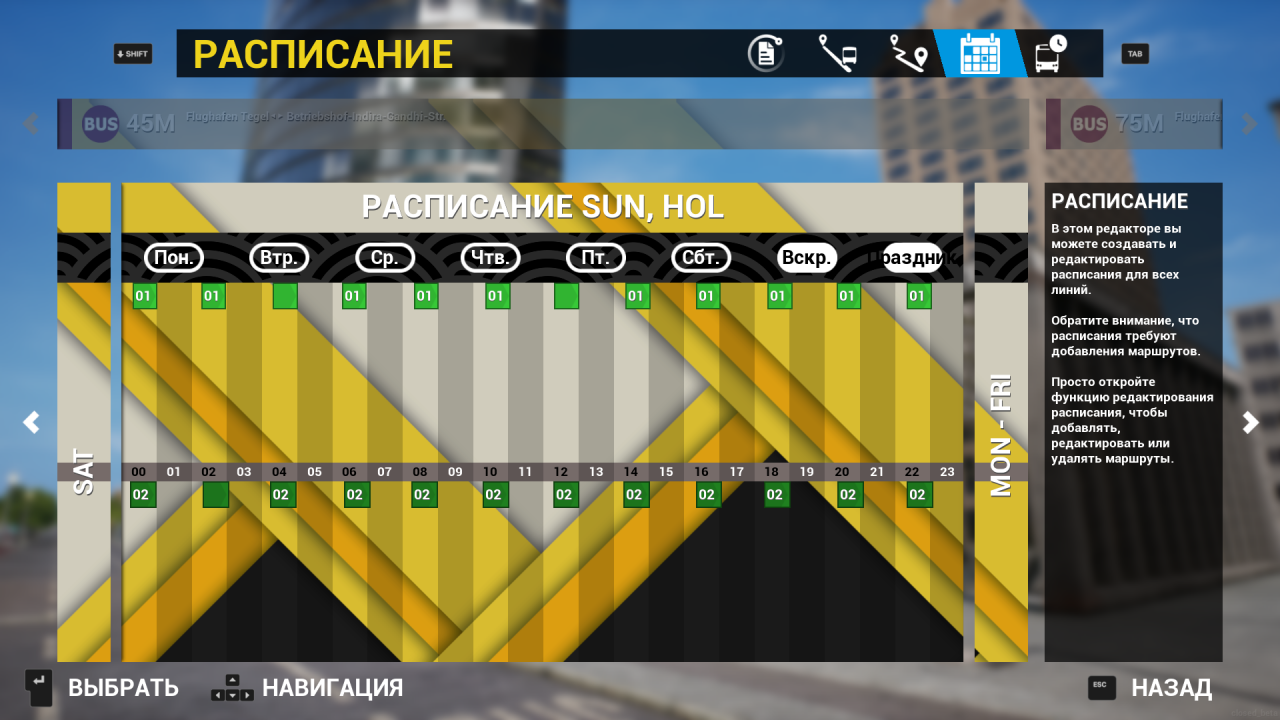
 Clicked and we get to the same schedule, only now this is a weekend schedule. Click on the gray field and do the same, what only, what did you do in the schedule "Monday-Friday". Arrange the squares in the same way., top route there, down from there.
 It would seem everything, but no, this is a movie with a twisted plot, look again to the right and see again a vertical strip with the inscription "SUN, HOL "and see another arrow. This is a schedule for holidays and school days. Click and do the same thing again, what did you do with the schedule for "Monday-Friday" and "weekends". I.e, we need to make a schedule in three tabs. It looks complicated, but in fact we do the same thing three times. Nothing can be done about it, this is the way.
Routes.
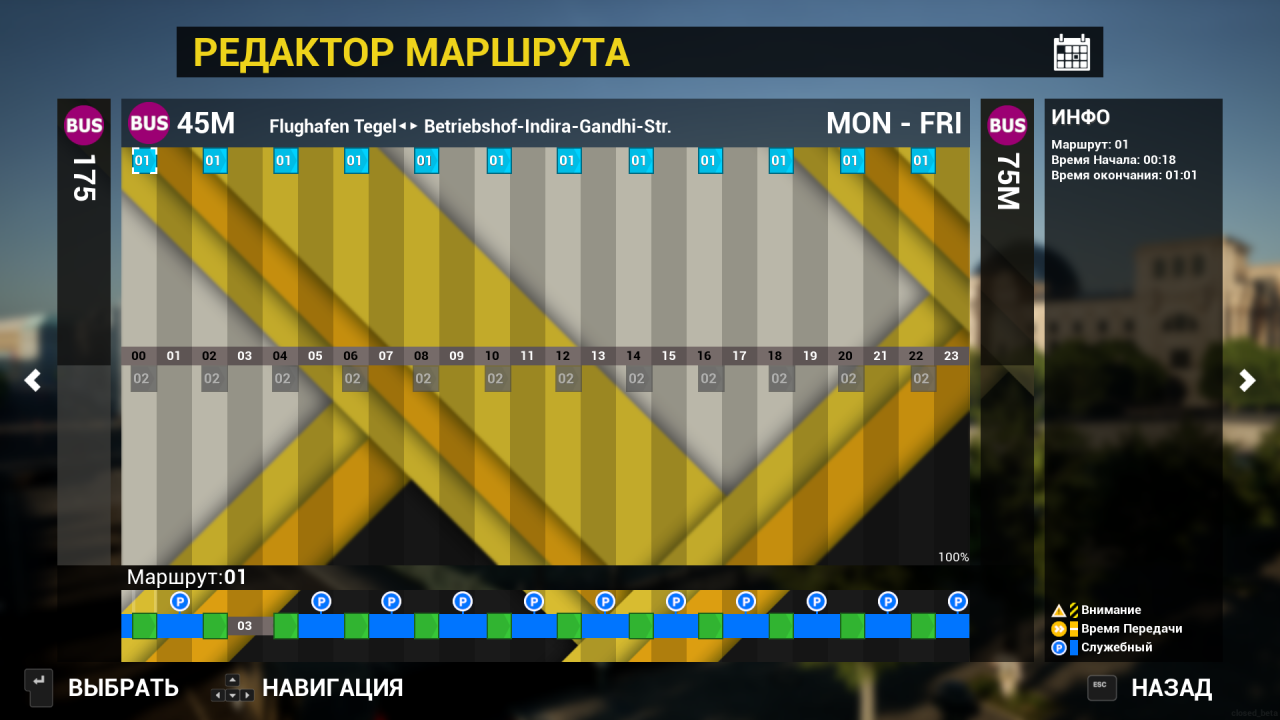 Then we close this page and return to the "ROUTES" tab. Now we need to do the same thing but with the reverse route.. Click on MON-FRI and select the second line. Look at the picture, it has a ready-made schedule, you will need to click on the second line under the MON-FRI section. Circled in red in the picture and build the same blue-green stripe.
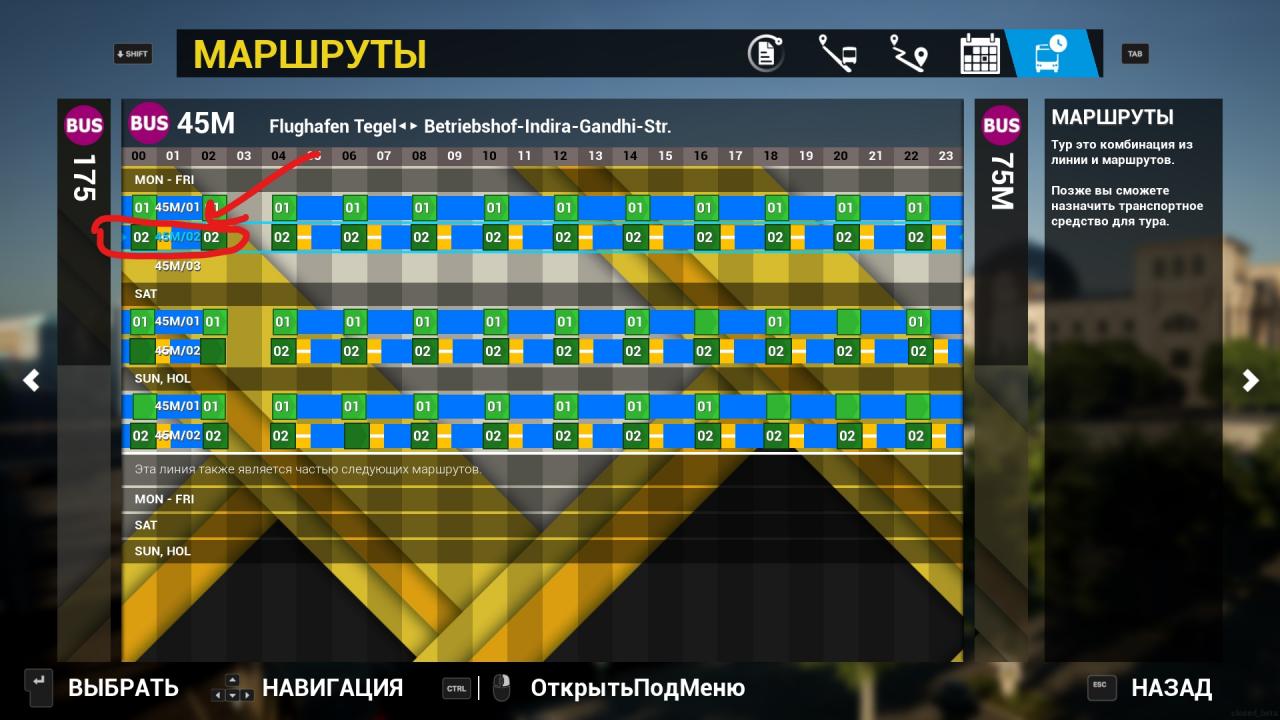 Here you need to understand, that we are making a schedule for the return route and you need to move the mouse arrow and press "ENTER" on the lower squares of dark green color.
 Total, in MON-FRI you need to open and make a route (blue-green stripe) in two directions, by laying it in the first window by clicking the green squares, and in the second window there are dark green squares.
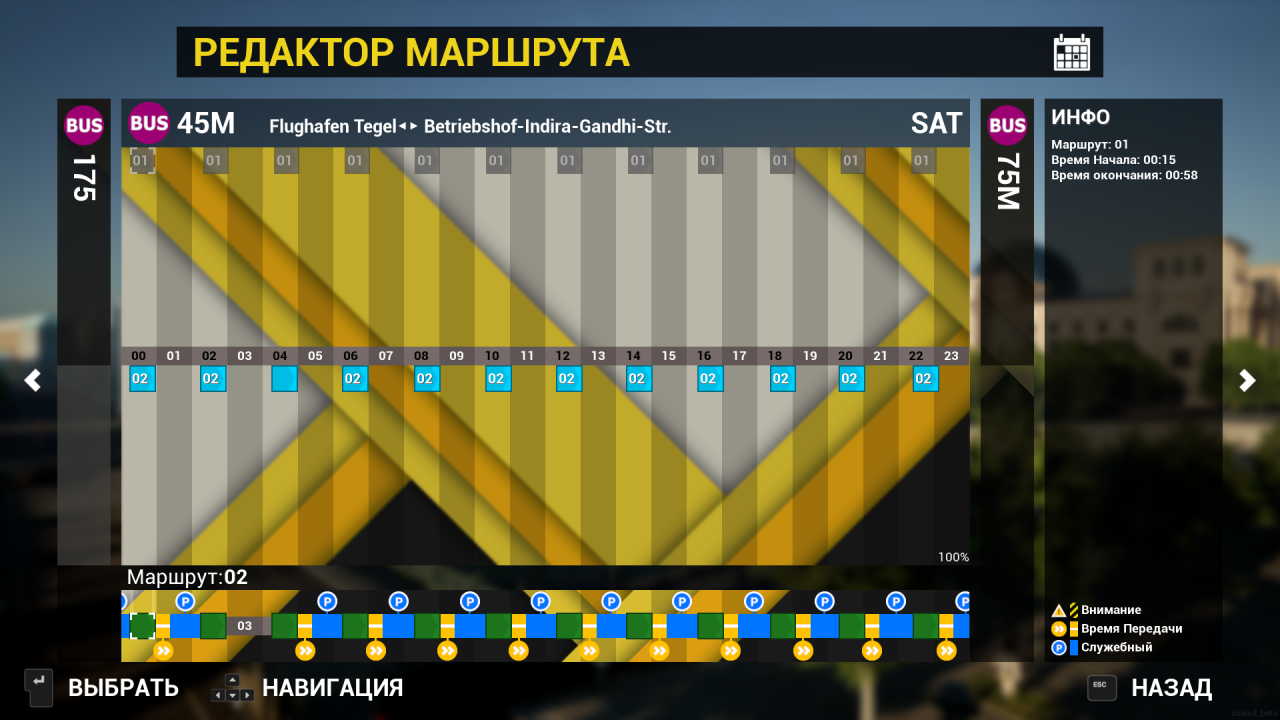
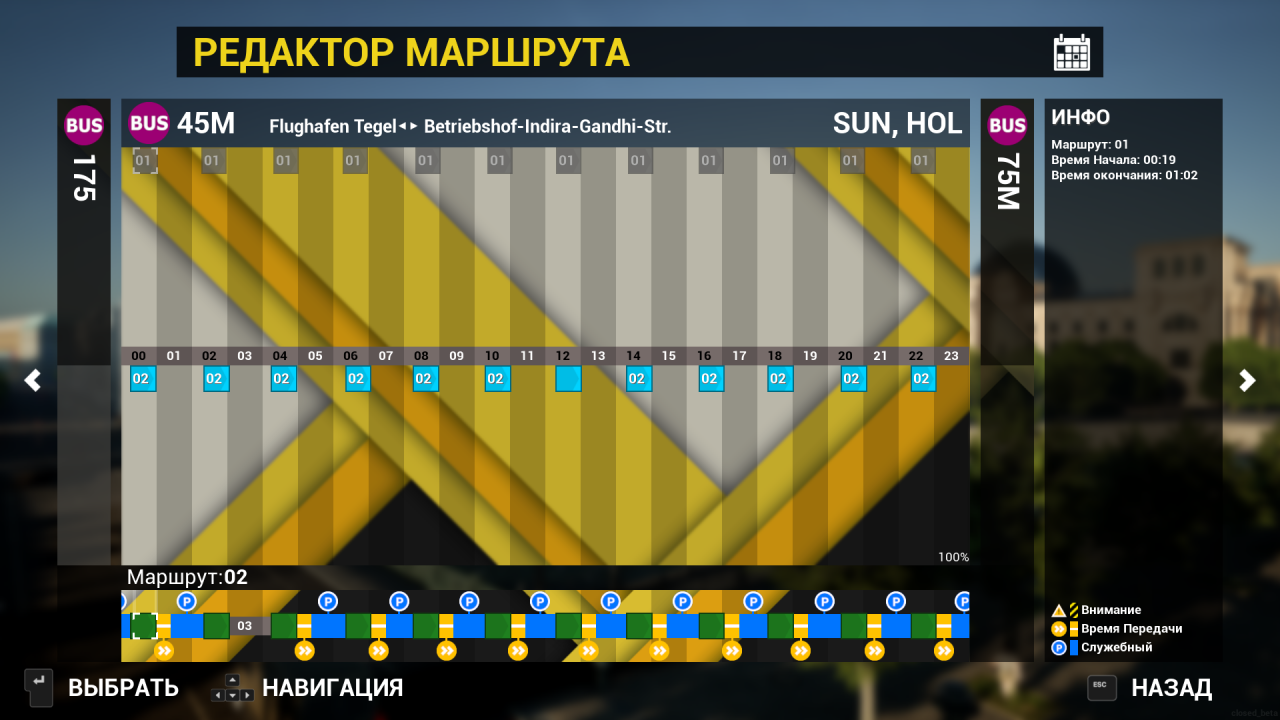
All done, close this page and again find ourselves on the "ROUTES" tab. We see, that there are lines "SAT" and "SUN, WHERE", you need to do the same with them. We open "SAT", we plan the route in the same way, how they did it in the MON-FRI window. Do not forget, that you need to create two routes, one forward, another back. We look at the pictures, on them it is visible, that in the first picture the route is laid ahead, and on the second in the opposite direction.
 Close the "SAT" page and return again to the "ROUTES" page. Click on "SUN, HOL "and do the same, what they did on the pages "MON-FRI" and "SAT". Thus, we need to do the same thing three times..

Outcome.
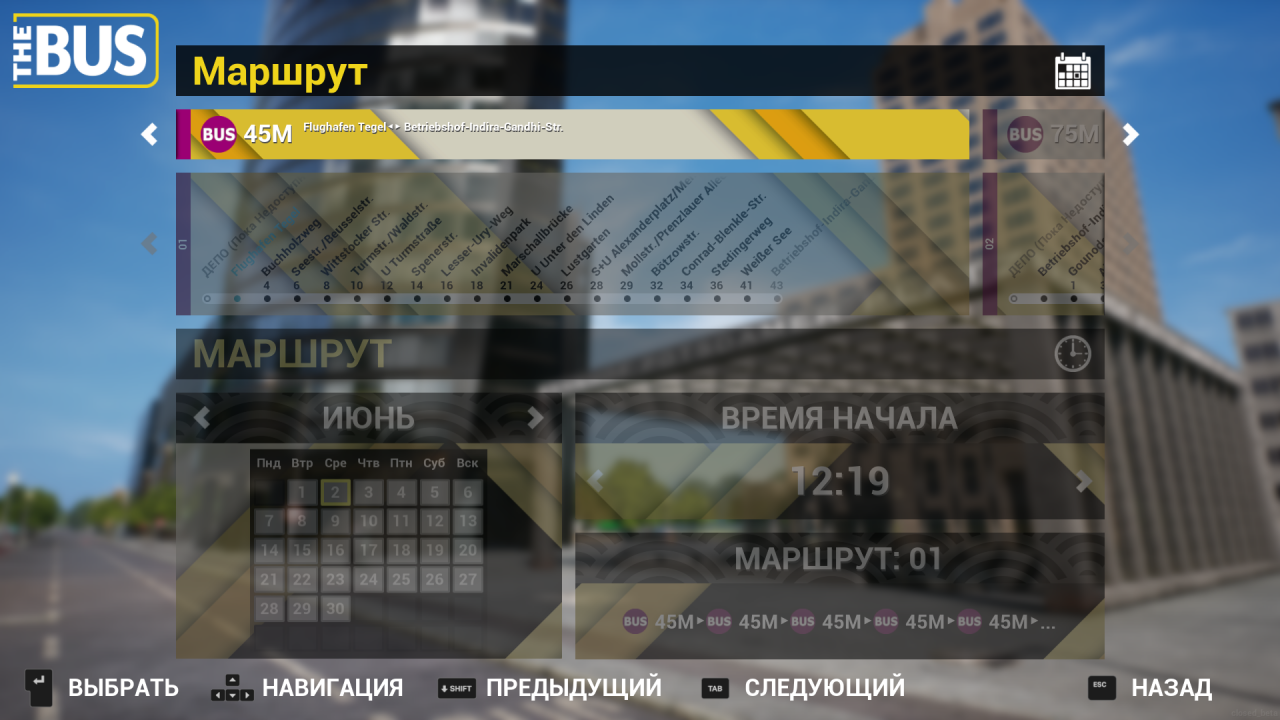
Now close the editor and go to the main menu. Click on "FREE PLAY", then "LINE and ROUTE" and choose our 45M line. We expose the time we need, weather and starting stop. It remains to wait for the game to load and go.
p.s. Do not forget, what is this simple guide, without understanding the details and other matters. A manual with all parameters and details will be done later..
Leave a Reply