
basic settings:
global m_width = xxx – width of the map in blocks;
global m_height = xxx – height of the card in blocks;
global u_showtutorial = 0 or 1 – turns off / on, respectively, showing the tutorial on the left side of the window;
global u_shownames = 0 or 1 – showing names over allies;
global sv_maxplayers = xx – maximum number of players on the server;
global sv_ip = `xx` – IP server, 0 – automatic detection (I recommend to put it);
global sv_port = xxxxx – server port, useful for modems and other devices with closed ports, you need to choose open;
global sv_password = `xxx` – password to enter your server, I haven't checked it myself, therefore, I'm not sure of working capacity;
global sv_rconpassword = `xxxx` – the most important password in the game, used to administer the server through the console in the game, enter, remember, do not give to random people;
global sv_name = `хххх` – server name, displayed in the general list;
global sv_info = `xxxx` – server information, appears in a pop-up window;
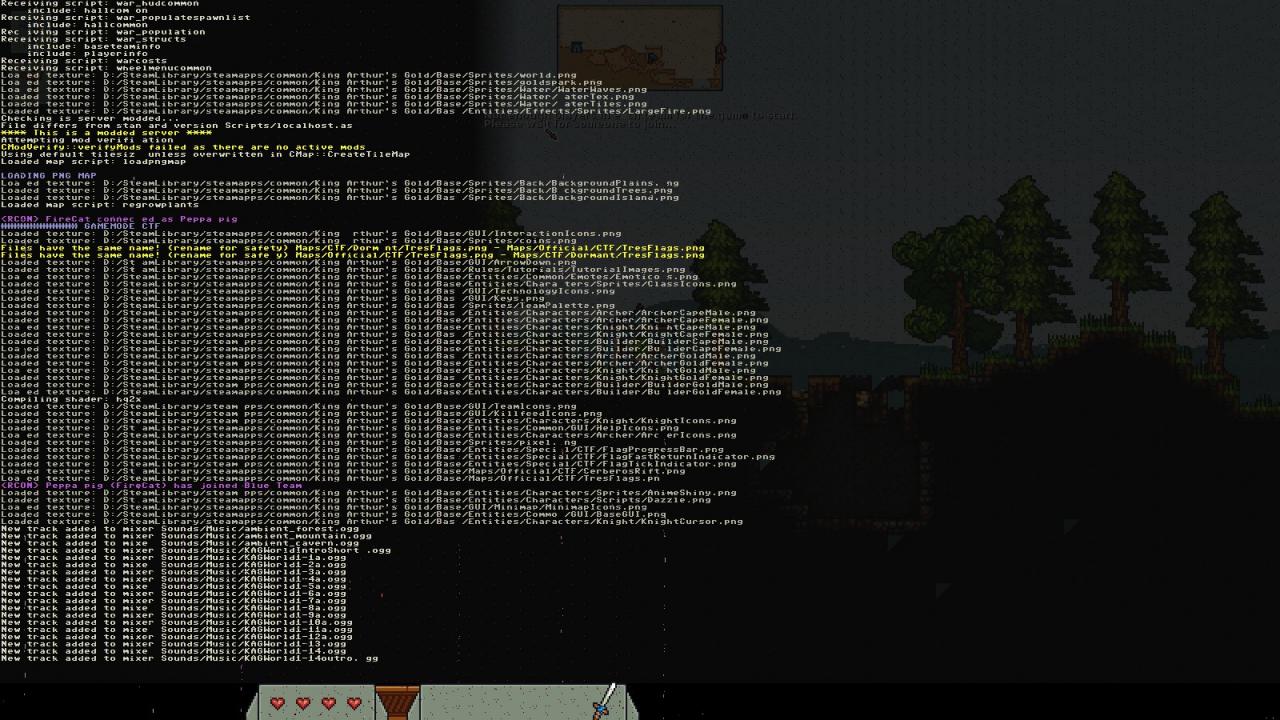
After we have configured our server, find the dedicatedserver.bat file and run.

Congratulations! You have already created a server!
Then we go to it and enjoy life!
Find the file superadmin.cfg(Security/superadmin.cfg)
(Also open with notepad)

open it and see this:

Enter your nickname in users.
Next, we go to our server. Press the Home button. The console opens.
Enter / rcon / loadmap there “card name”
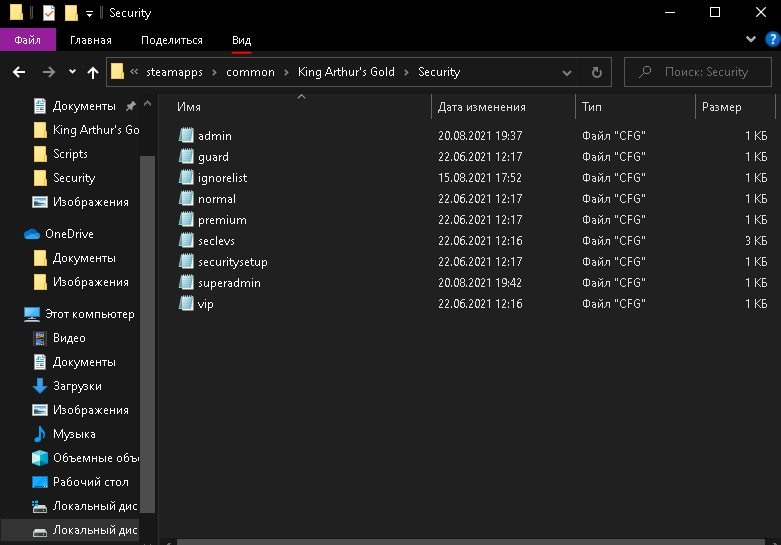
Maps are stored in Base / Maps / Maps
If suddenly / rcon / loadmap “card name” does not work. Then we go to the Security daddy, click above the panel “View”.
Push parameters, the window is highlighted:
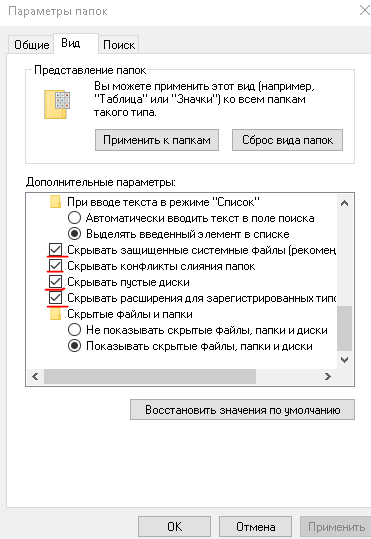
Remove the checkmarks that are underlined in red.
Now the .example inscription has appeared next to the files, it needs to be removed by renaming.
After removing the inscriptions, we return everything to its place, we go to the serv, check and work!
Leave a Reply