
Retroarch – this is the interface for emulators, game engines and media players, API based libretro. Allows you to run classic games from a variety of emulators on a wide range of computers and consoles through a single graphical interface (in our case on a computer via Steam).
I was primarily interested in Retroarch as a replacement for the ePSXe emulator., which I used before (when playing PSone games). In the case of RetroArch, the installation and configuration process is reduced to connecting the required emulator core, i.e. emulator = kernel.
2. Customizing the menu theme: Settings -> User interface -> Menu -> xmb;
3. Customizing the menu design: Settings -> User interface -> Registration -> Menu color theme, Menu shader, Background image (customize to your taste).
BIOS link: https://www.emu-land.net/consoles/psx/bios/?act=showonly&id=16421 (replace spaces with a period).
In the next step, you will need to customize the controls (if using an XBOX or PS gamepad, then this step can be skipped, although I highly recommend setting a hot key combination to call the emulator menu during the game: Settings -> Input -> Hotkeys -> The combination of buttons for calling up the menu -> “Hold Select (2 seconds)” – choice in my case).
so, if playing with keyboard / mouse, I'm going: Settings -> Input -> Port management 1. Pay attention to the menu items Turbo Buttons and Hot Keys, since some of the specified keys can also be used there, which will lead to undesirable consequences when using them during the game.
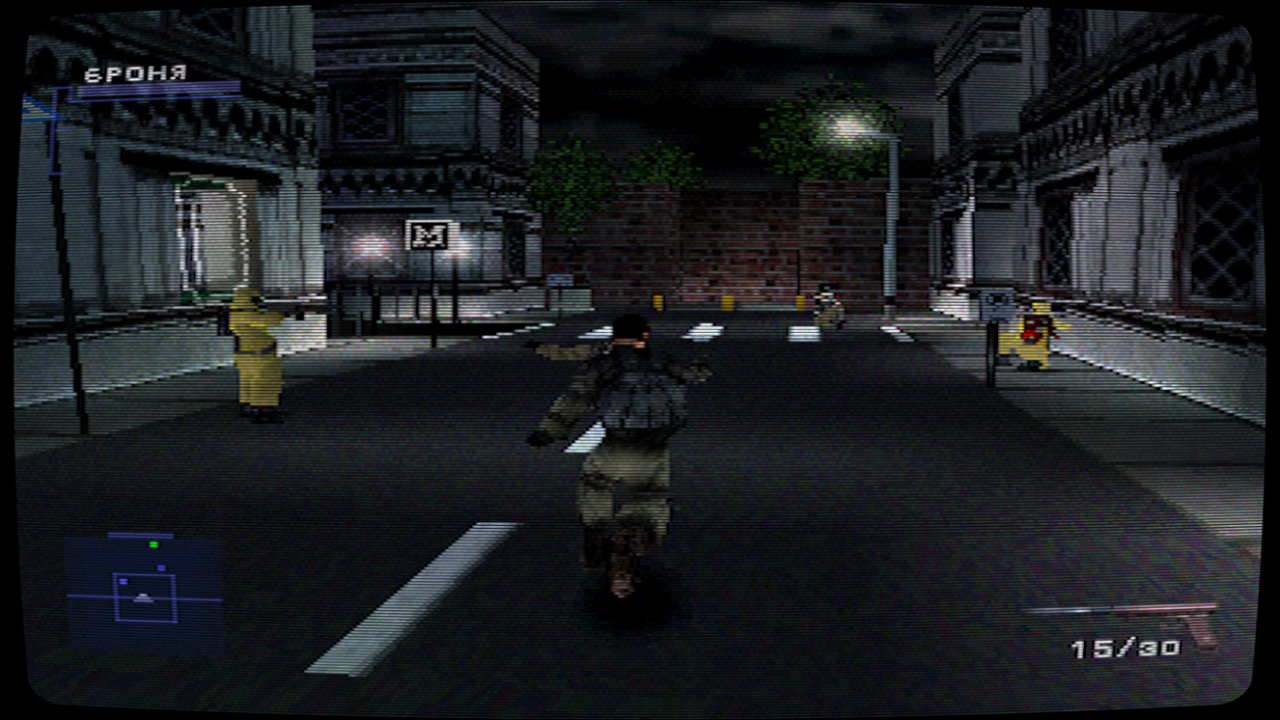
This concludes the basic setup of the emulator.. As you can see, unlike the ePSXe emulator, the setup in RetroArch is as simple as possible., what a definite plus to him. so, before starting the game, you need to load the emulator kernel: Main menu -> Load kernel, to start the game: Main menu -> Download content and specify the path to the games folder.
1. put the images of the games in the directory: ..\RetroArchgames (one of the requirements is that game images must not be in iso format);
2. in the emulator itself, specify this directory as “default directory”: Settings -> Directories -> File Browser -> path to directory games (then <Use this directory>);
3. find images of games in RetroArch'e: Content import -> Manual Scan.
– Content catalog -> <Scan this directory>
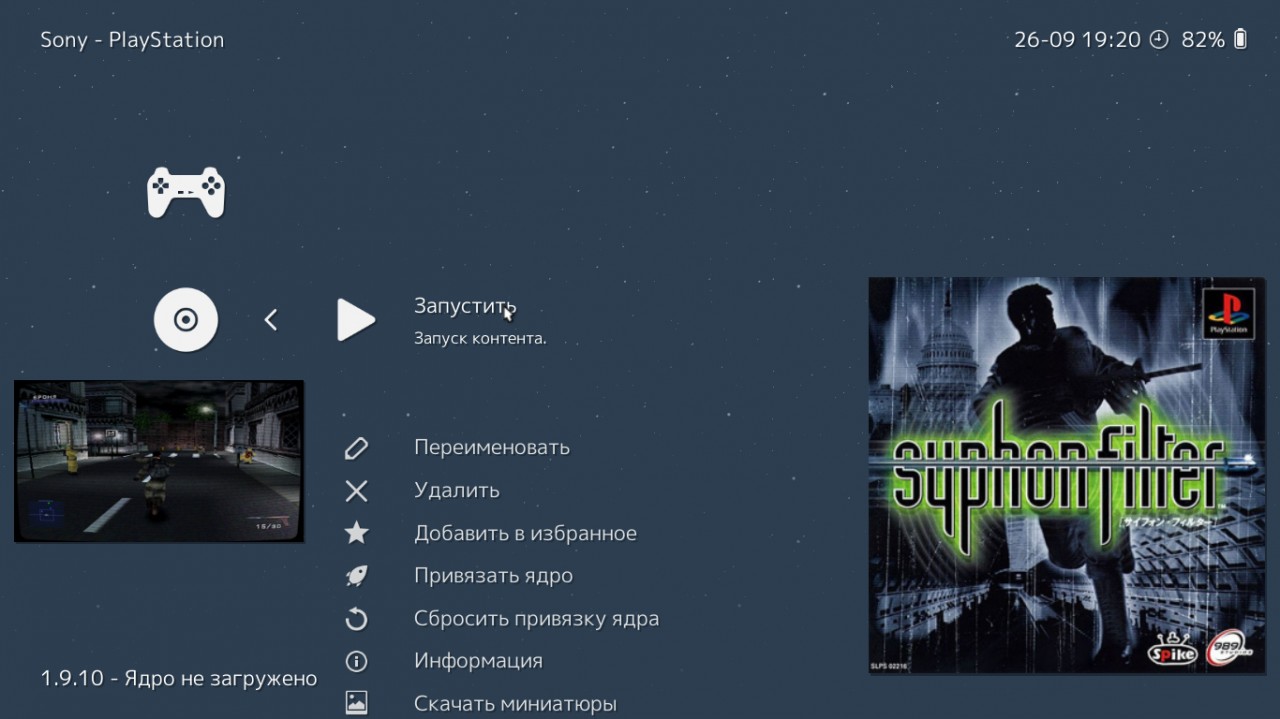
– System name -> Sony – PlayStation
– The default kernel is> Sony – PlayStation (PCSX ReARMed)
Then select Start Scan. If everything is OK, then a new section of the Sony menu should appear – PlayStation with a list of all games in the specified directory.
4. add covers to games and screenshots: Settings -> User interface -> Registration -> Sketch (Boxing art) and Thumbnail on the left (Screenshot). Next, you need to create directories .. RetroArch thumbnails Sony – PlayStationNamed_Boxarts и ..RetroArchthumbnailsSony – PlayStation Named_Snaps and put covers of games in PNG format in them. note, that the name of the PNG files must match either the name of the game images, or with the given name of games in RetroArch (if you renamed them).
P.S. among shaders my favorite: crt-geom.glslp
A shader from the game is connected -> Emulator menu -> Main menu -> Quick Menu -> Shaders -> Graphics shaders (ON) -> Download -> \shaders_glslcrtcrt-geom.glslp
If you like this or that shader, you can save it as for a separate game, and globally for the selected emulator (Save -> Save Game Preset or Save Core Preset).
Leave a Reply