
In this guide, you will learn how to install your own skin, and be a FULL MASTER'om
Preparing the game
1. Go to the game folder.
RMB on the game in the Steam library>Management>View local files
2. Follow the path: MinecraftDungeons/Dungeons/Content/Paks
3. Create in the Paks folder folder ~mods
Done! You can put a modification on the game.
Downloading and installing the mod
Go to the site: DokuCraft[dokucraft.co.uk]
Choosing a modification version:
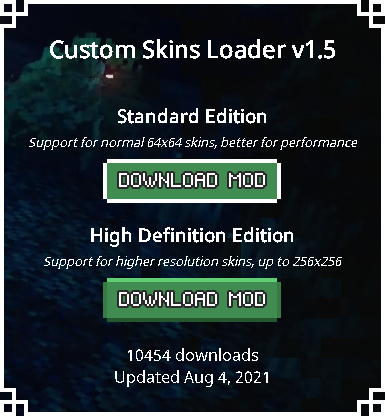
Standard Edition
Supports 64 standard skins×64 Minecraft Java
High Definition Edition
Supports 256 high definition skins×256, like in Minecraft Bedrock
Download the modification and transfer the mod file(.then) to the ~ mods folder, previously created.
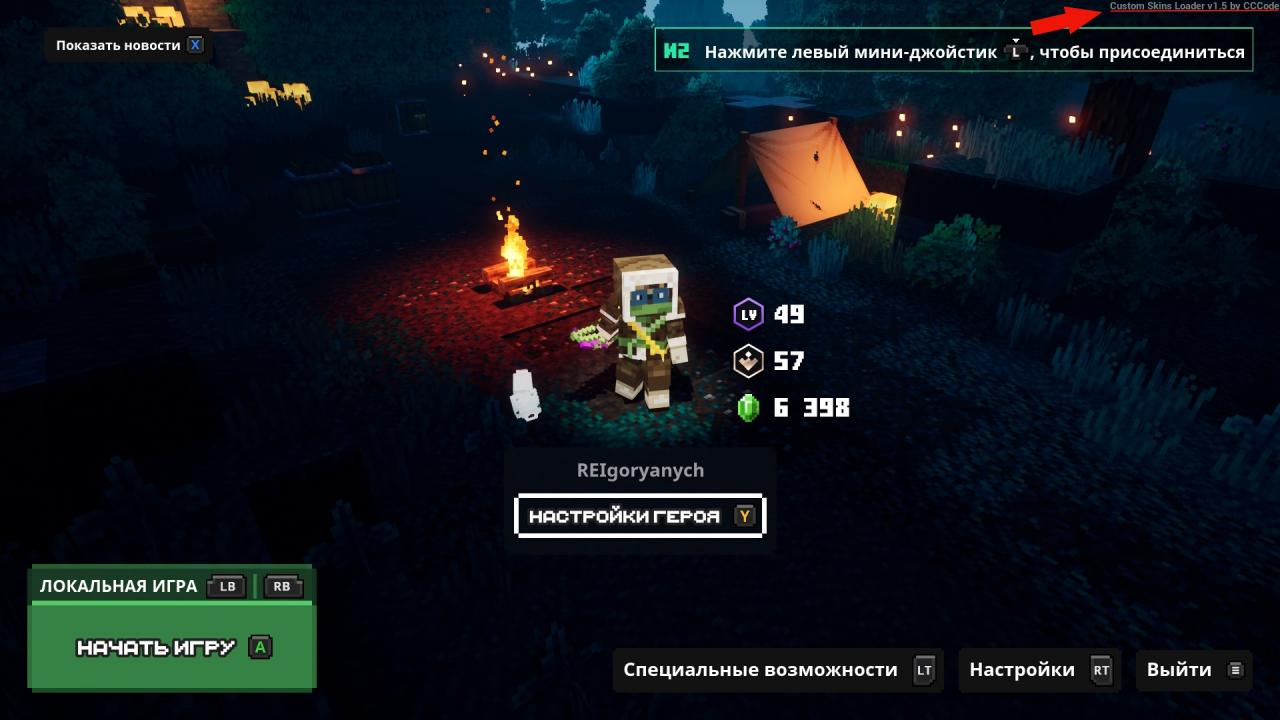
We go into the game and check the functionality of the mod. In Game, in the upper right corner there will be a corresponding inscription.
Installing the skin
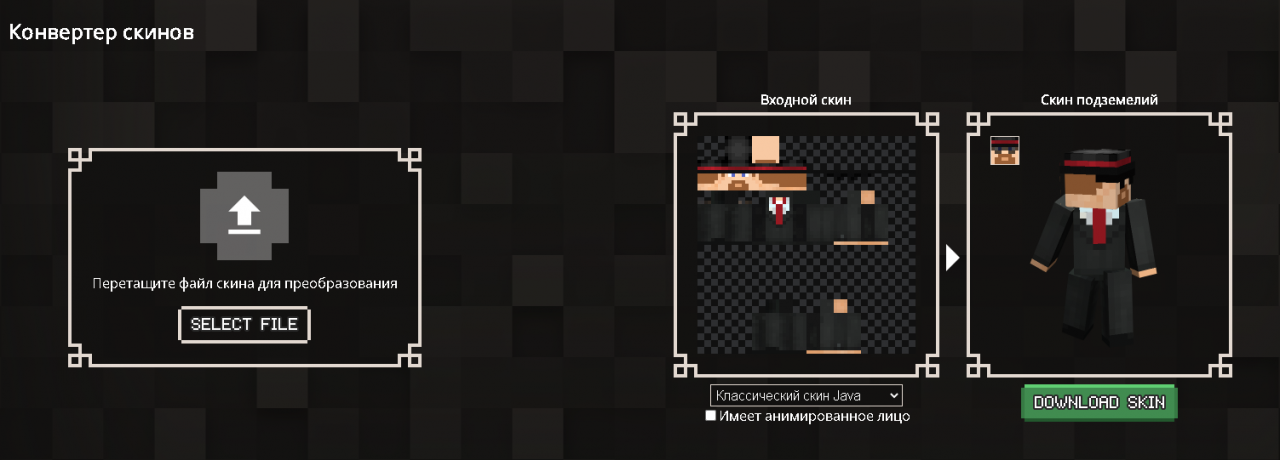
Optional, you can make a face animation for your character's skin and choose a skin model(Classic, Slim)
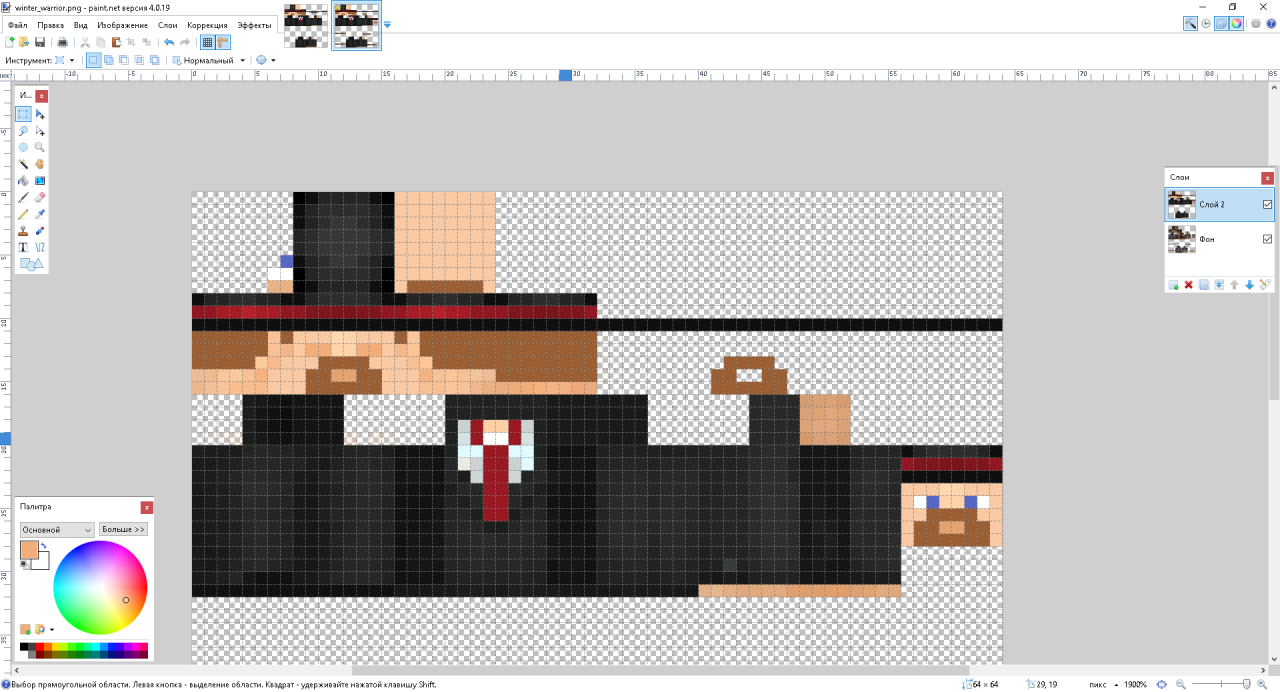
Go to the folder, where did you install the mod. After starting the game, the skins folder will appear there. All skins are stored in this folder., which you can replace with your skins.
We throw our skin here, before that, renaming it to a skin from this folder. For example, I replaced the winter_warrior.png skin
We go into the game, choose the skin that was replaced… Done! Skin installed.

Leave a Reply