
In this tutorial, we will learn how to create a tread wheel!
Beginning of work.
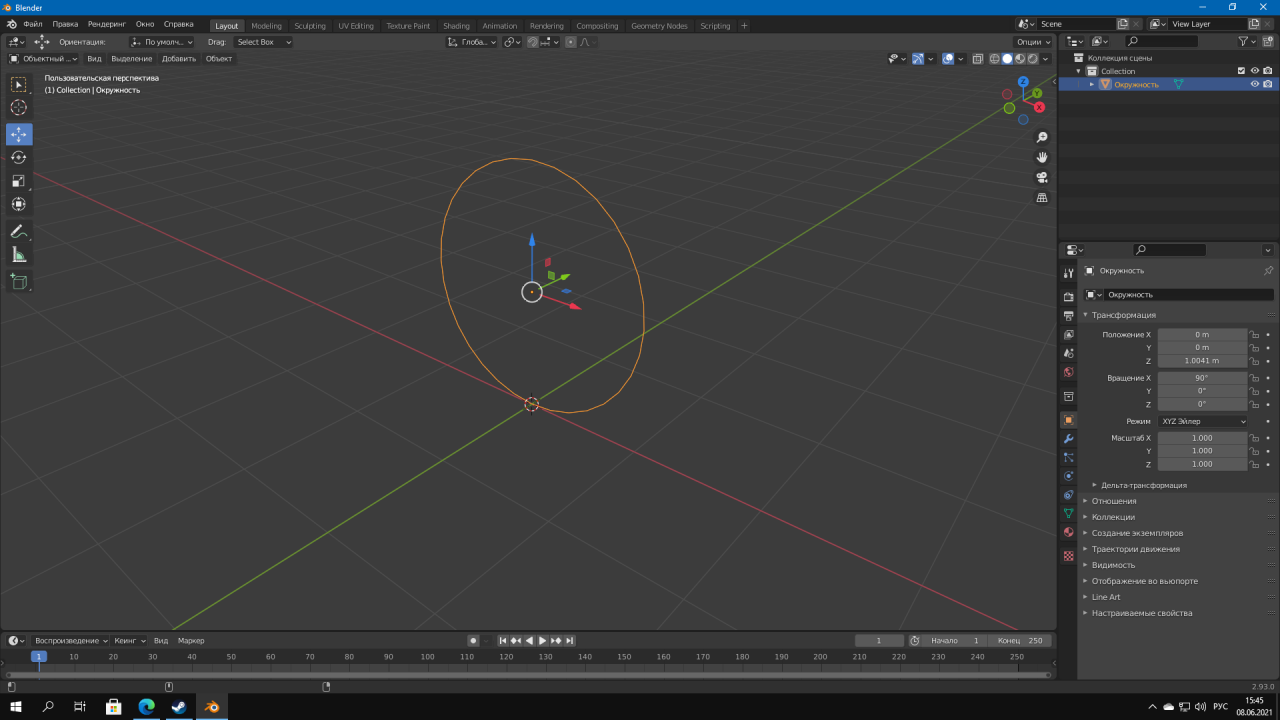
Go to blender, add a circle and rotate it by 90* on axis X.
Then we extrude. Then we press E and S and we achieve this result, after which we press slightly inward and model the rim of the wheel. It should be like this inside(see last screen)
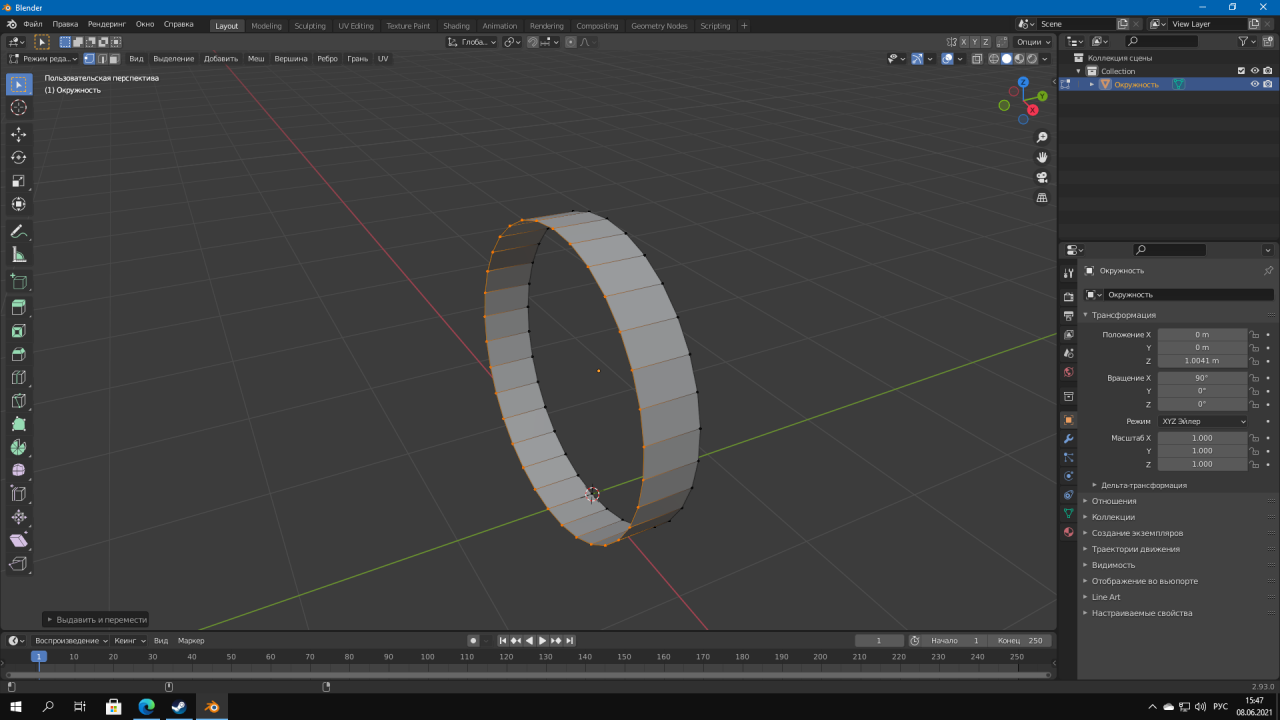
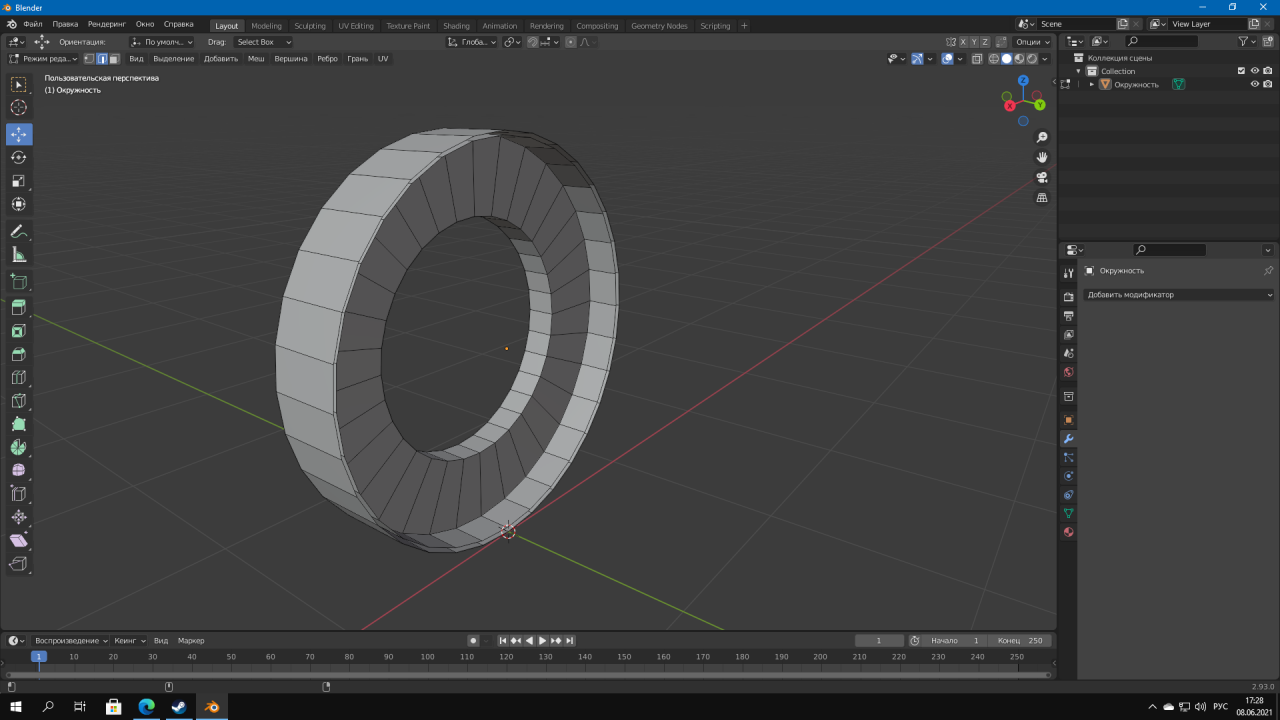
Then we extrude. Then we press E and S and we achieve this result, after which we press slightly inward and model the rim of the wheel. It should be like this inside(see last screen)
Working with modifiers.
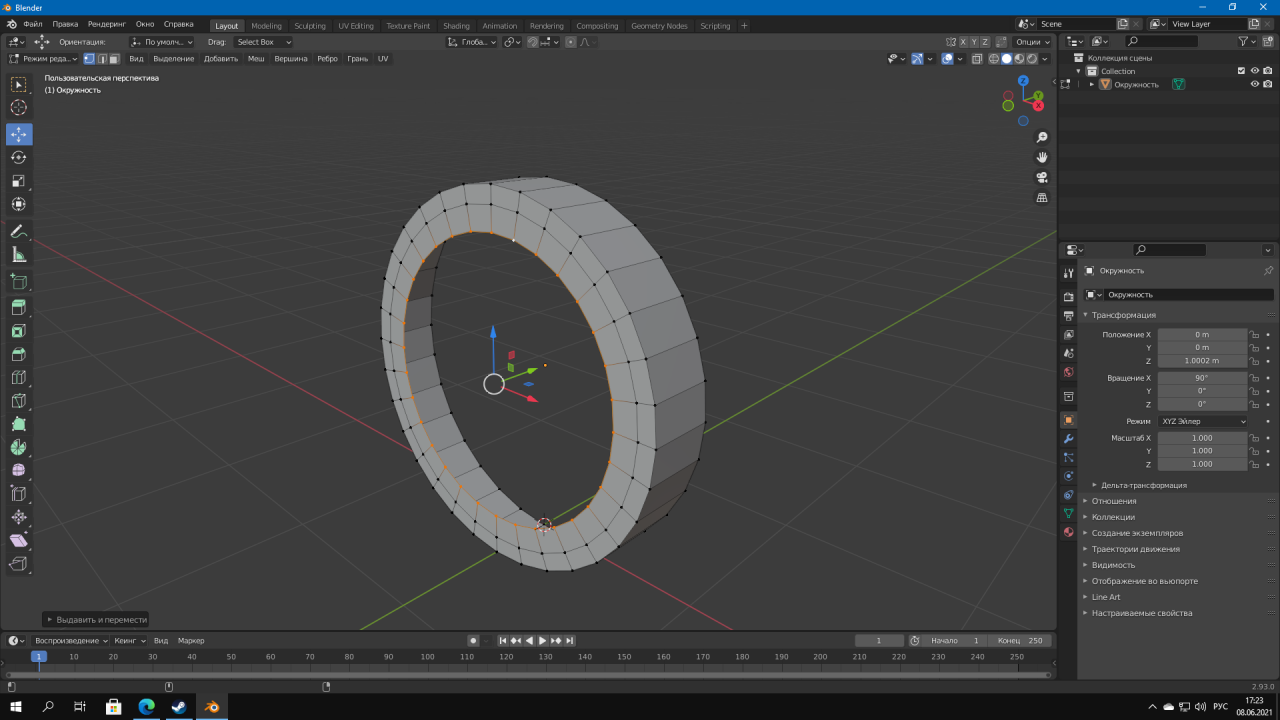
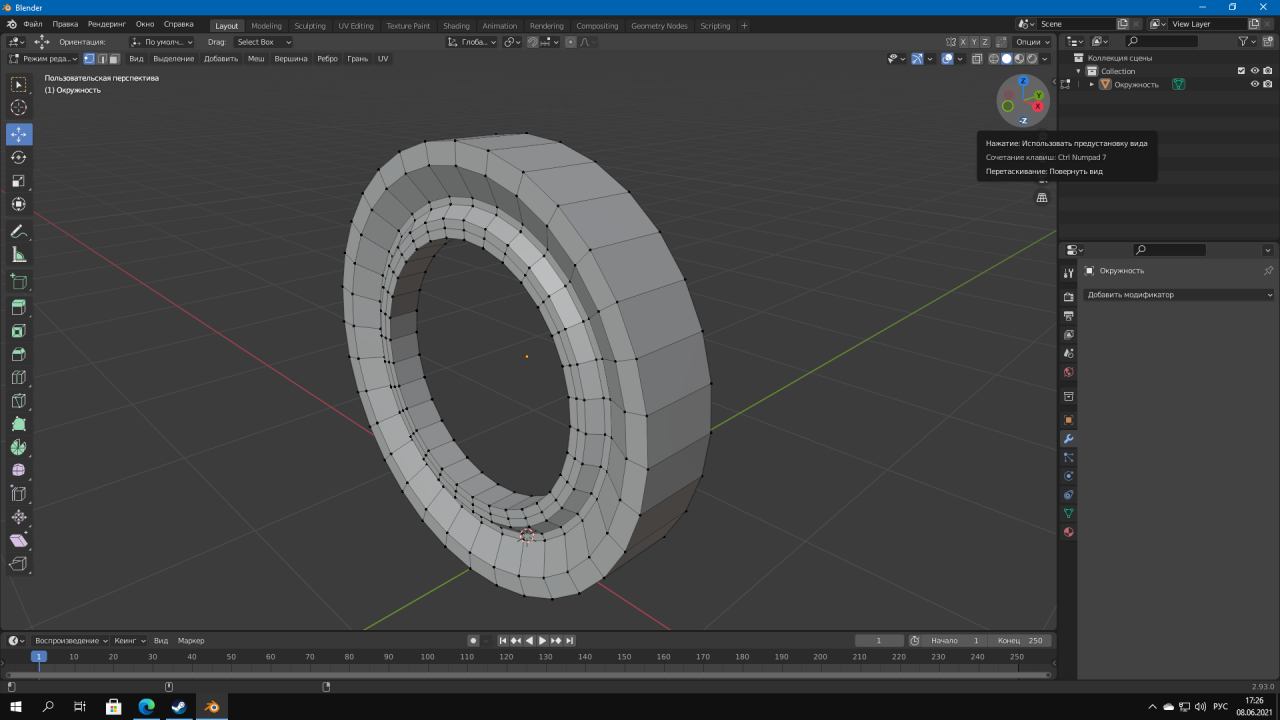
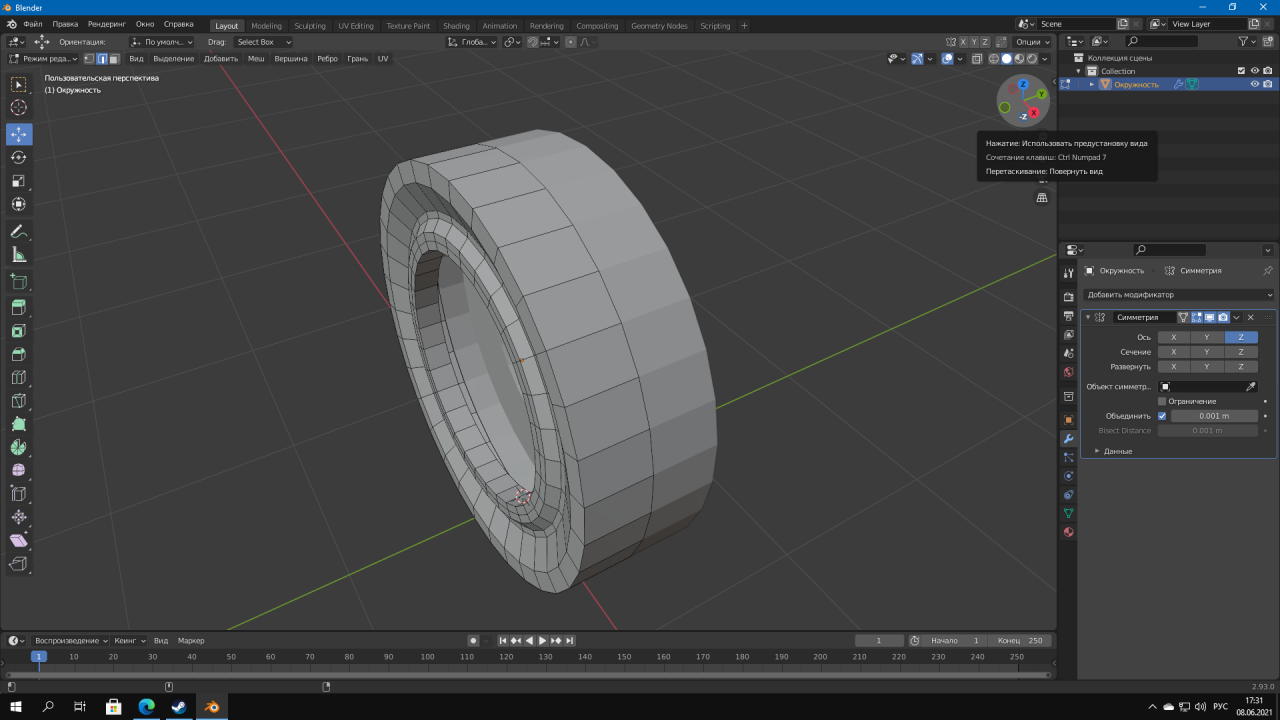
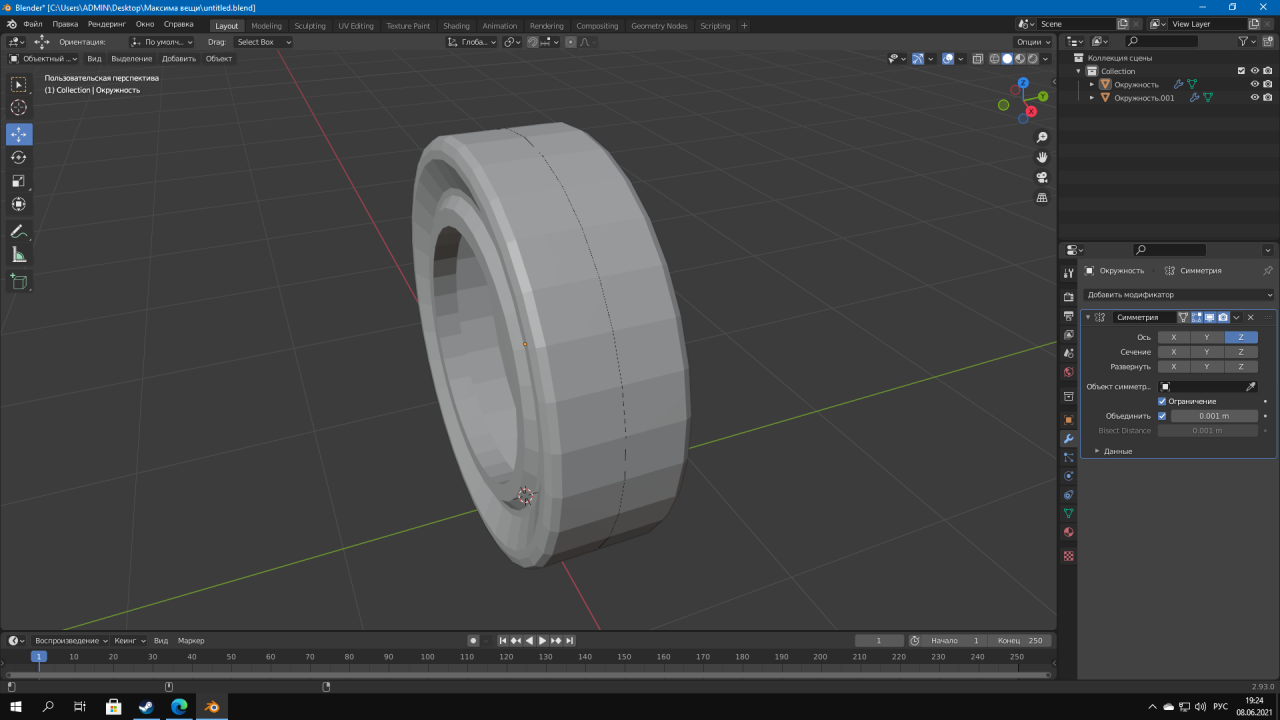
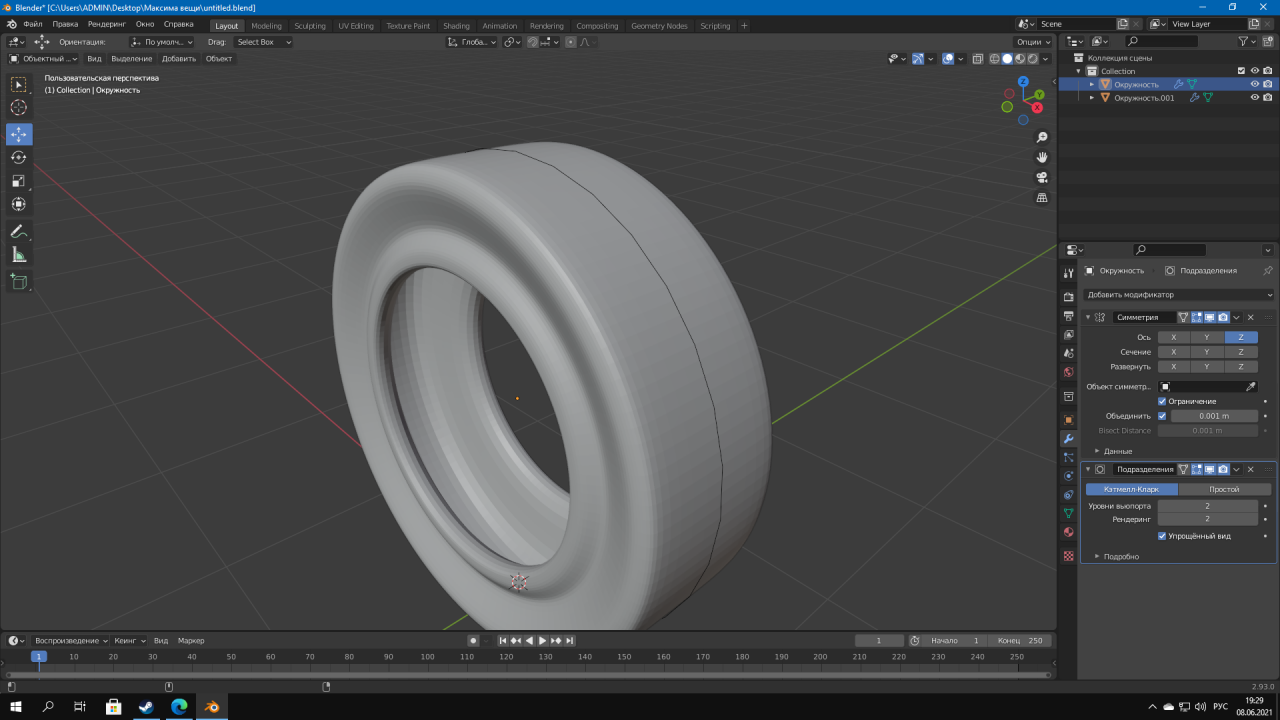
Now let's make our wheel more beautiful:) Add the Z-axis symmetry modifier. Chamfer with Ctrl keys + B p 3 segments(added with the mouse wheel), then press alt + pkm, press Shift + D, we copied the center,BUT WE DO NOT HAVE ANYWHERE!!! AFTER PRESS P AND SELECT BY MATERIAL,SHOULD BE SO, at the end add the SURFACE SUBDIVISION modifier

 that's all,move on
that's all,move on
The final part.
Moving on to dessert,now it will be more difficult,but who listened to that fellow)) We find any protector that you like from the Internet,i take this, I switched to the top view on the numpad 7. Add a plane and use the S hotkey to scale to the size of the tread and drag the vertices. After making the protector,add 3 modifier: Symmetry,Array and Curve and then expand to 90* and we do it this way.
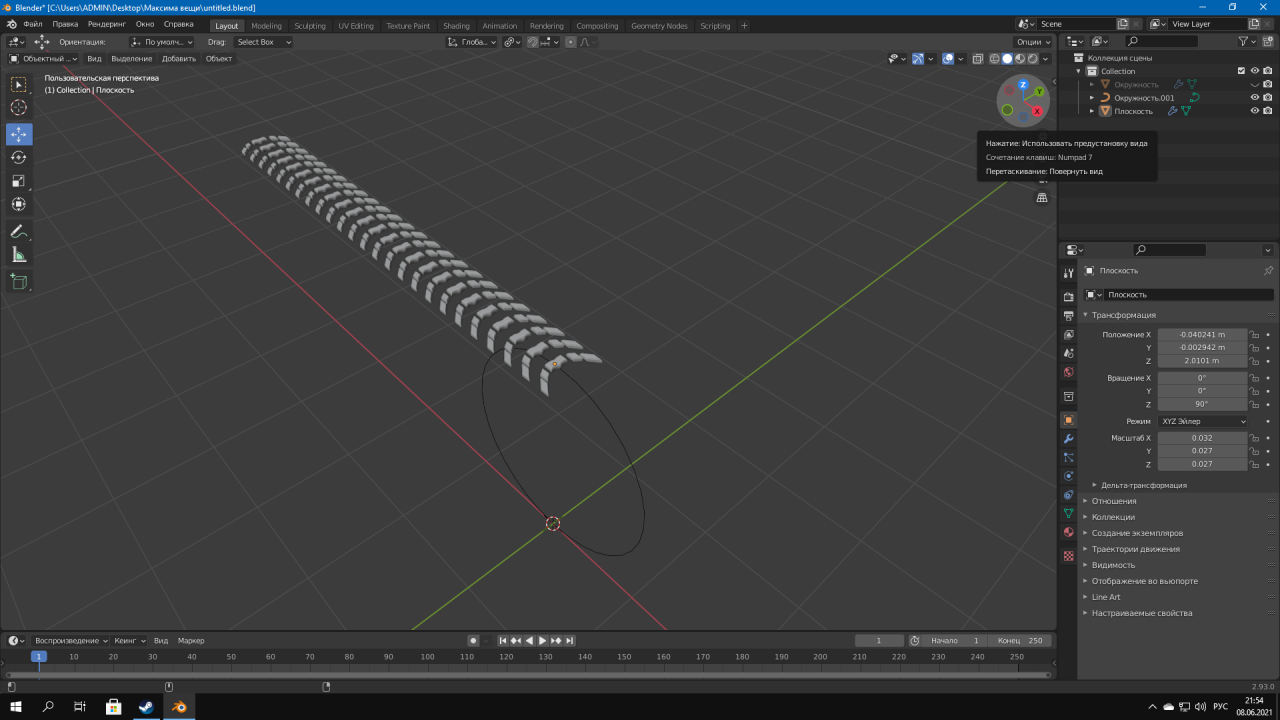 after which we transform our circle into a curve,then press Shift + S and press the second item.
 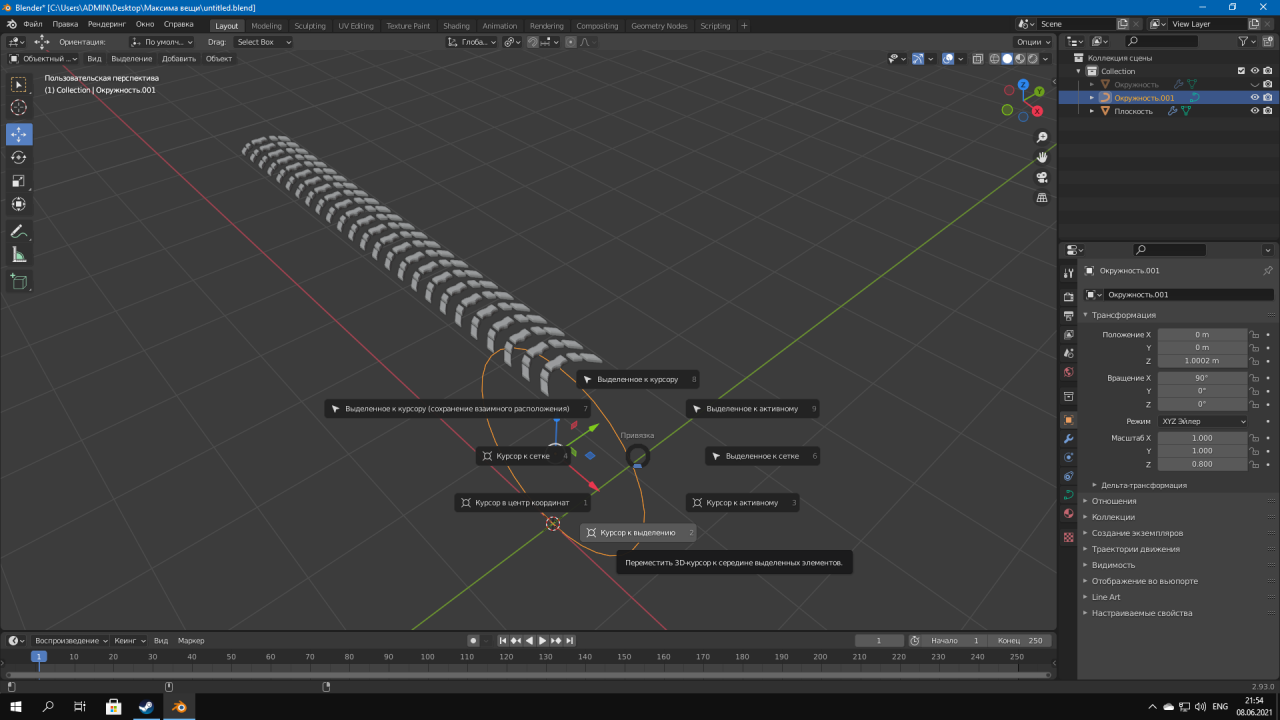 Select the protector, press the eyedropper and select the circle,IF YOU GOT IT,LIKE I HAVE NOTHING SCARY
 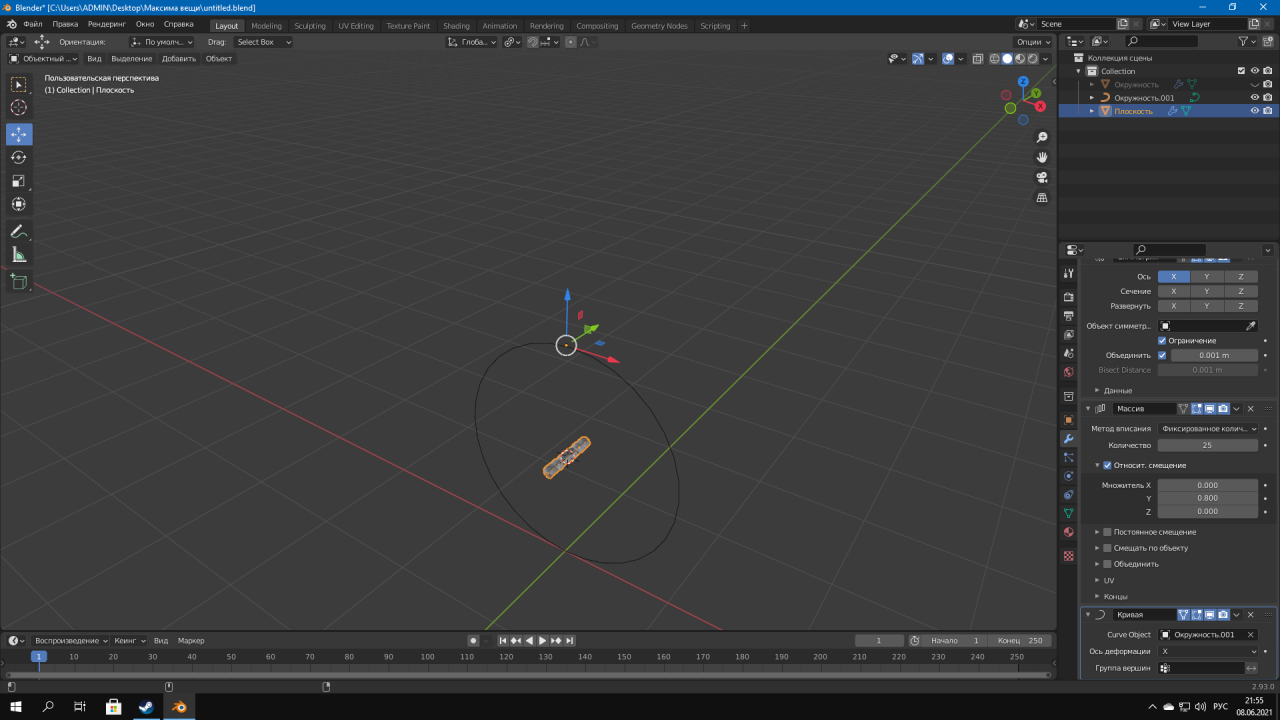 JUST PRESS SHIFT + S 7 ITEM AND ALL. Also adjust the amount in your tread array to ideal. AS A RESULT, WE GET THIS BEAUTIFUL WHEEL;)
And do not forget to include the bus on the right that we did where all the objects are,to see our tire tread
after which we transform our circle into a curve,then press Shift + S and press the second item. Select the protector, press the eyedropper and select the circle,IF YOU GOT IT,LIKE I HAVE NOTHING SCARY JUST PRESS SHIFT + S 7 ITEM AND ALL. Also adjust the amount in your tread array to ideal. AS A RESULT, WE GET THIS BEAUTIFUL WHEEL;)And do not forget to include the bus on the right that we did where all the objects are,to see our tire tread
Leave a Reply