
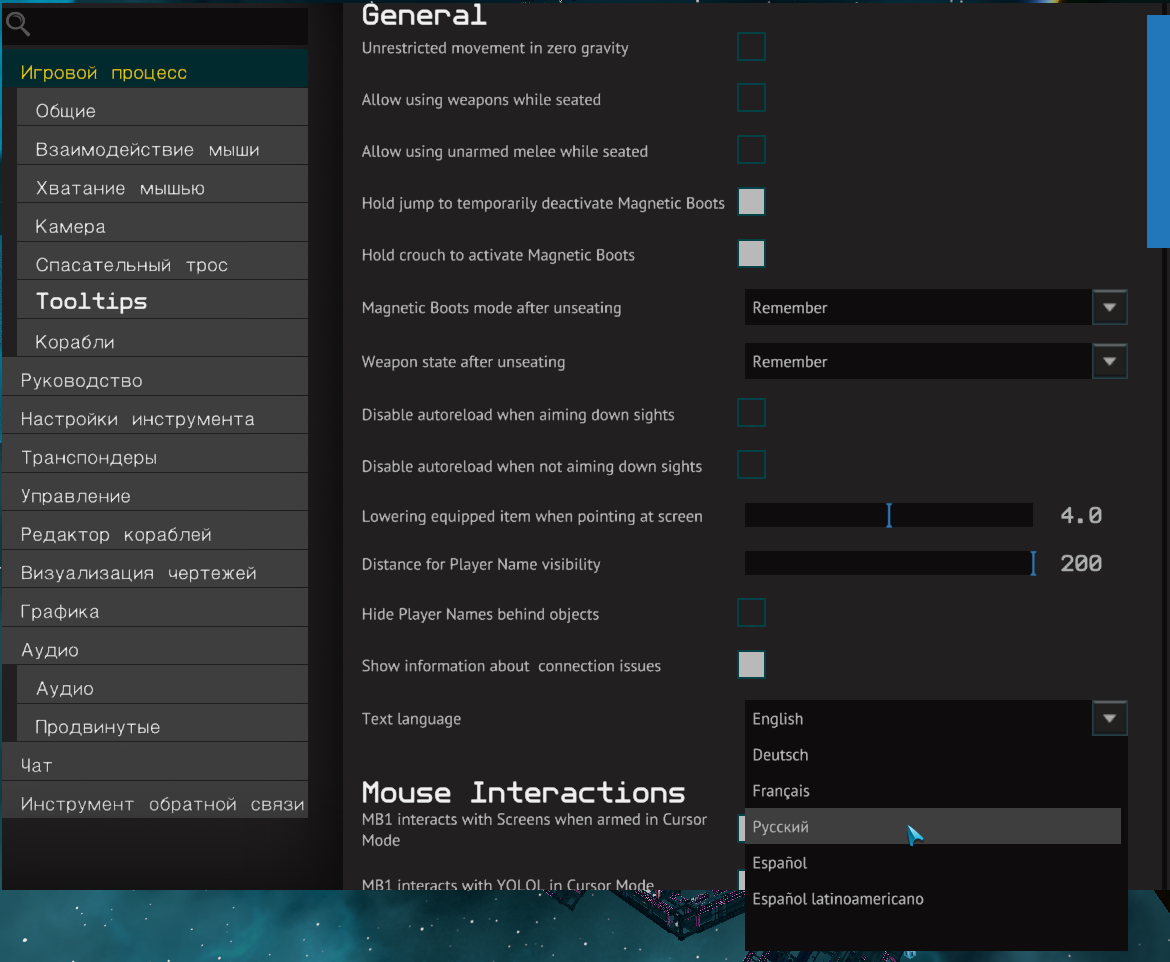
This guide is intended for beginners and provides information, necessary to start the game. Introduces the basics of the game. This guide is not intended to tell you about all aspects of the game..
Endoskeletons - players, represented by robots. They are often referred to simply as endos for short..
Default, you have taken educational quests. The tasks of the current quest are shown in the upper left corner.. Discard, cancel, switching between quests is strictly NOT RECOMMENDED.
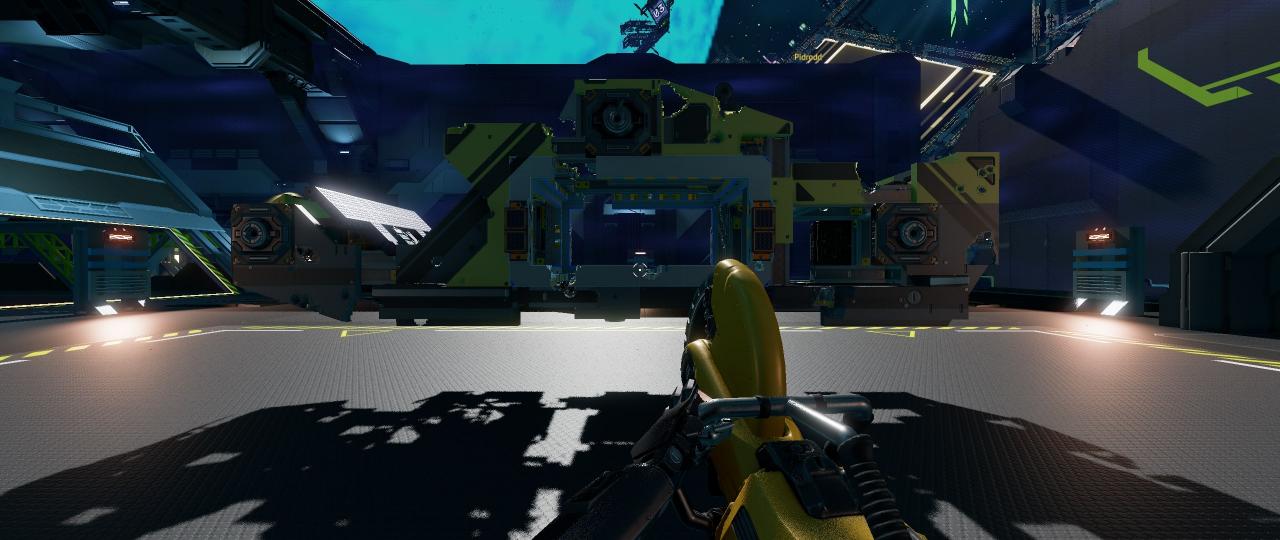
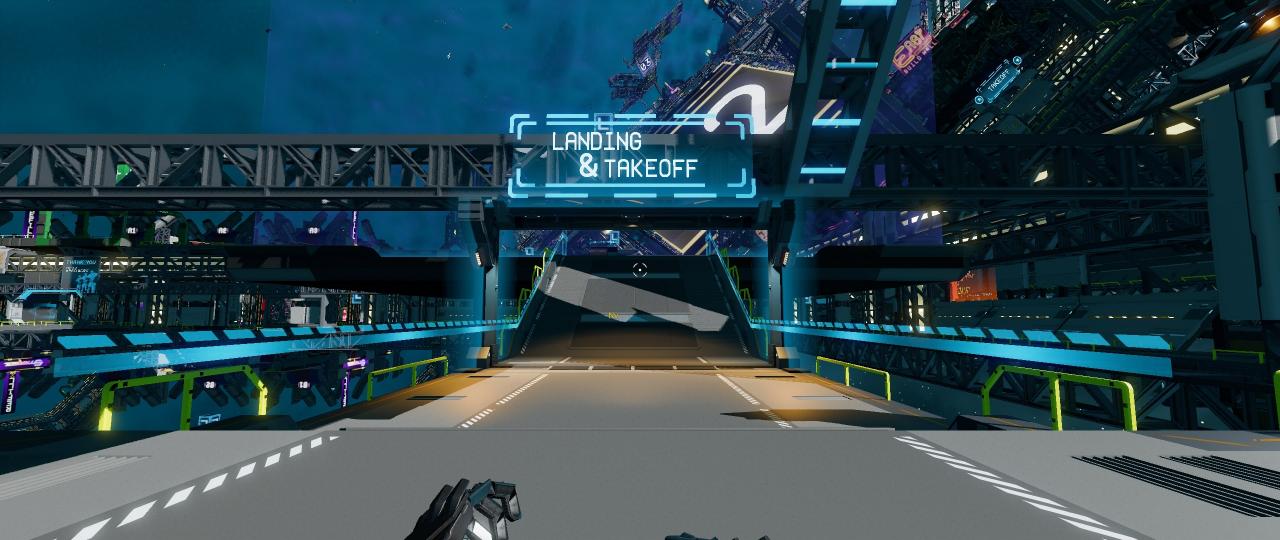
There is a fork in front of the entrance to the command center. Left - market (MarketPlace). On the right is the working hub (Work Hub). The first three quests are related to the work hub. Are on the same street. All three buildings have an entrance to the right of the road.. Buildings differ in color and each has a large inscription, occupation.
Fork
Work hub - place, where you can earn credits (game currency), doing simple work. Disassembly of ships, asteroid mining and repair work. Earning restrictions 100 000 credits per day. Credits go to your personal account immediately.
Consider all training quests (Tutorial).
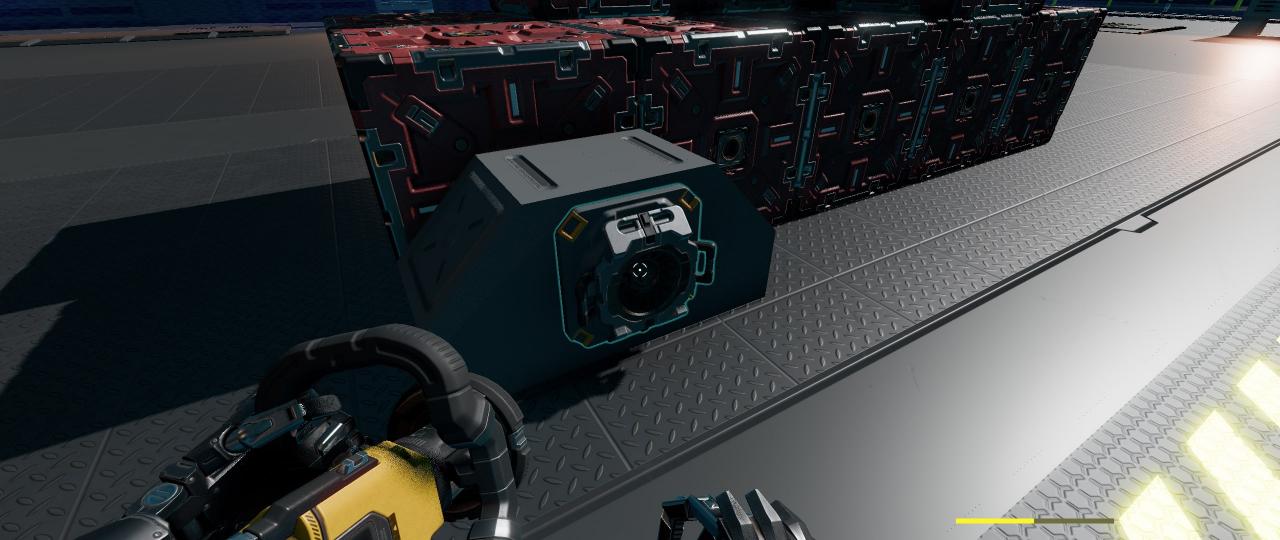
There are several tables in the working area. On the left table there is a "grinder" (buzz saw) and three power cells for her. Take a grinder and cells. Take the default F key. Now, there should be a small broken ship in the center, which needs to be disposed of. Grinder's left mouse button destroys matter, and the right one cuts off the parts. A little practice and you will understand the difference. The sawn-off parts themselves fly into the "Collector Area" (Collector area). Sometimes they need help to do it.. When all parts of the ship have reached the collector area, the ship is considered scrapped. In future, credits will be credited to your account, as soon as the parts reach the manifold. This mechanic is the same for all jobs.. Credits are not accrued in quest jobs. Worth adding, that after the quest you can choose which ship you want to disassemble. Each of them has its own disassembly price.
Tool table
Disassembly ship
There are other tools to the right of the table with the grinder.. Disassembling ships with them is not effective. But you can try, eg, laser cutter.
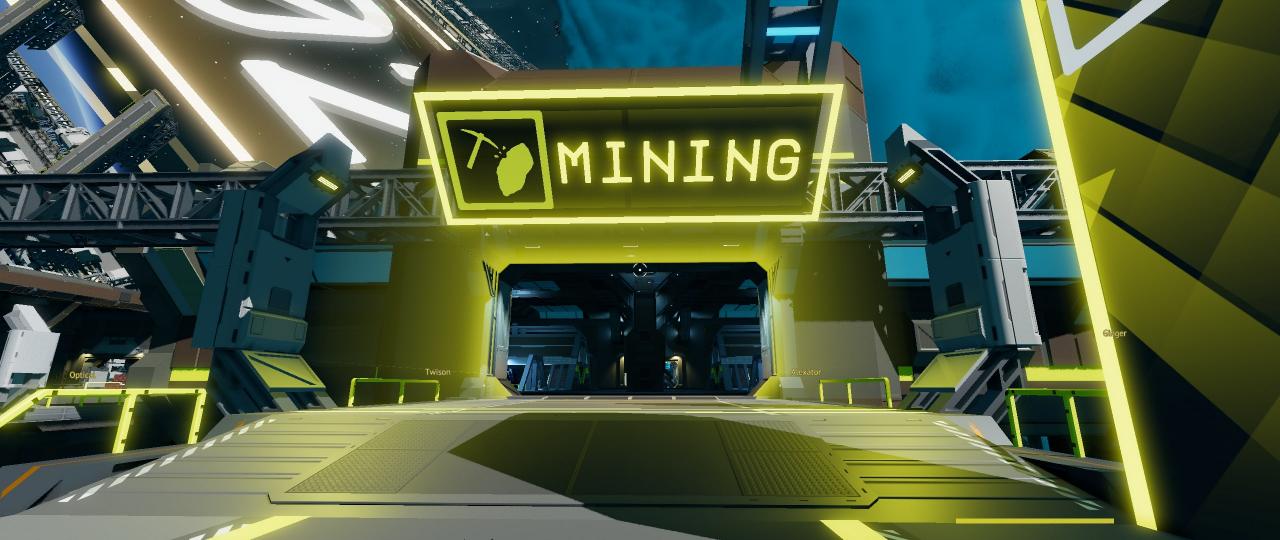
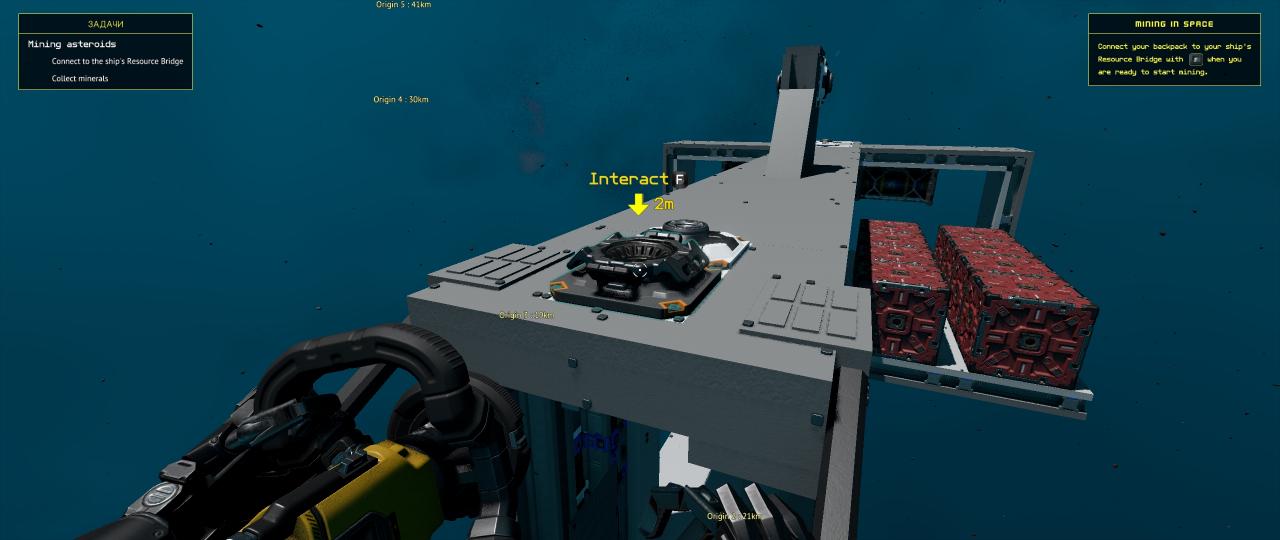
We go into the work area. Take the pickaxe. A random asteroid appears in the center of the zone. The asteroid consists of "filling" and "shell", they are always two different materials. The left mouse button splits the asteroid, right - mining / grinding. At the station, the work of mining an asteroid is, so that all of its parts fall into the collector area. Add, what's at work 2 and 3 you need to connect yourself to the "collection port". Collection ports are somewhat remotely reminiscent of sockets. Walk up to any of them, hover over and press F. If you are connected, you will see a yellow glowing cable between you and the port.
Collection port
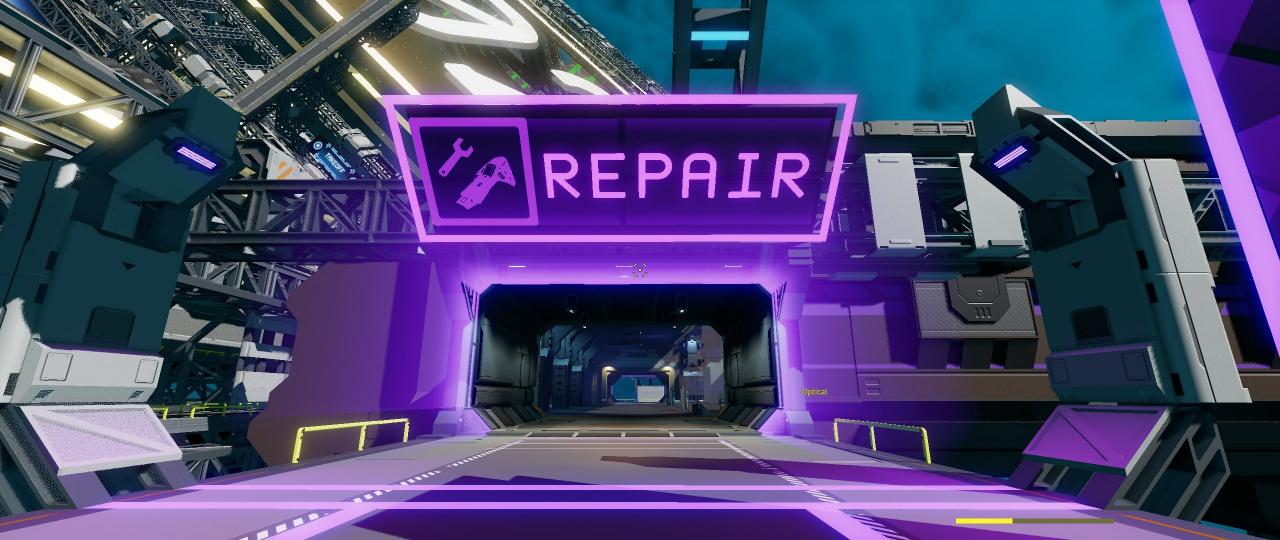
We again find ourselves in the working area. We take a construction tool on the table. We connect to the port. A damaged ship stands in the center. We need to fix it. Repair is done with a construction tool. Find the damaged part and hold down the left mouse button. Damaged parts are marked in blue. It is also useful to know the general condition of the ship and the number of damaged parts in it.. To do this, use a "handheld PDA". Press U, to open it. So you will see a list of parts in the table., to be repaired. Second column indicating the number of damaged items. The work will be completed, as soon as all components are repaired. Repairing ships requires different materials. But in this work, they are not limited.
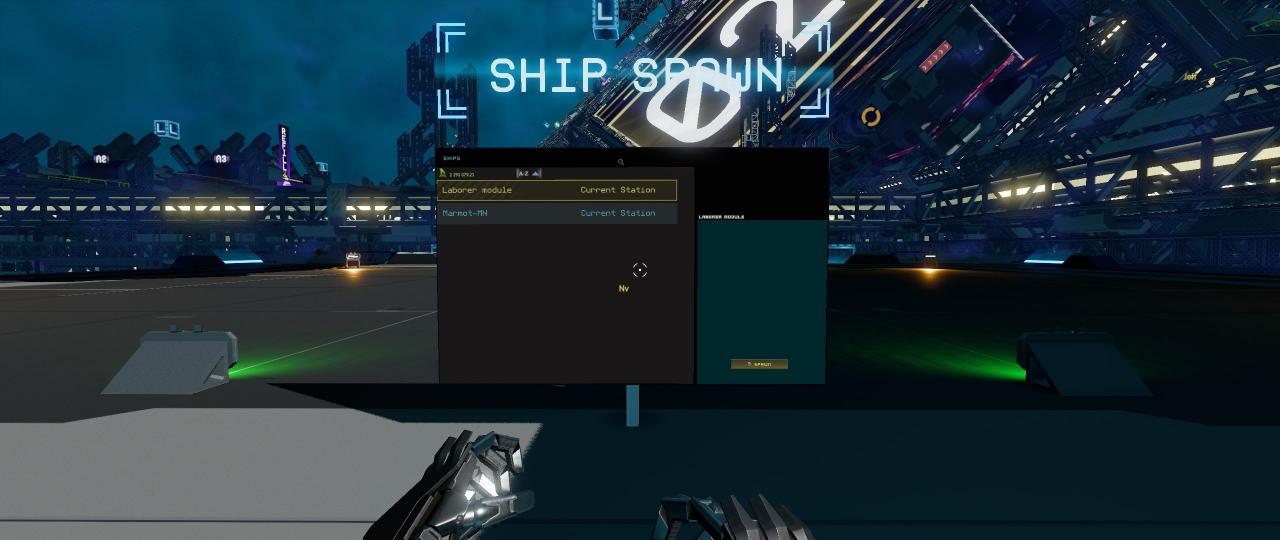
We go to the site. There will be a spawn terminal at the entrance (call) ships, in which you will need to select your initial quest ship - Laborer Module. Hover the cursor over the ship name in the list. Press the left mouse button or F. The name will be highlighted. After, click on the "Spawn" button. Your ship will appear. It appears above the platform itself.
We fly to the ship, to the cockpit (CockPit). Take off - space bar, land - CTRL. Hover over the seat and press F.
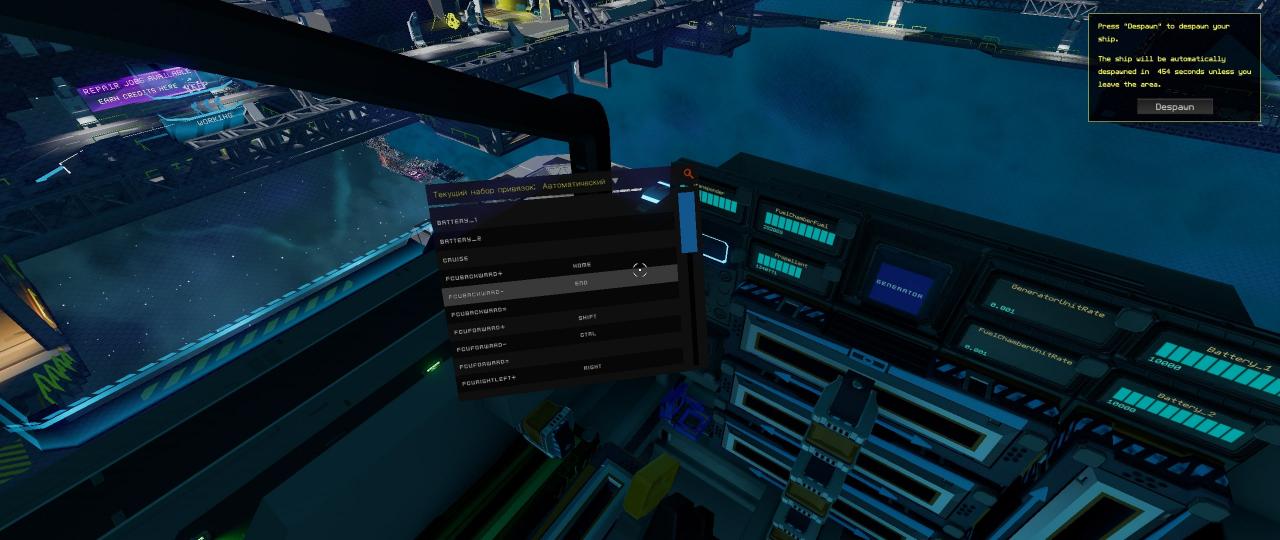
The ship is controlled from the keyboard, the mouse is not directly involved in the control. Main control:
W – down
S – up
A - turn around the axis of the ship to the left
D - turn around the axis of the ship to the right
Q - turn left
E - turn right
Up Arrow - Vertical Takeoff
Down Arrow - Vertical Landing
Shift - add forward acceleration
Ctrl - decrease forward acceleration
Home – add acceleration back
End – reduce backward acceleration
I will notice, that in addition to flying "straight ahead" all movements are made with the participation of "shunting engines" (small pshykalki all over the ship's hull), therefore, vertical take-off / landing is extremely slow. On the initial ship, there are few shunting engines and by themselves they are extremely weak in power in comparison with the main ones..
Let's look at the ship's control panel. Ship Laborer Module for Beginners, therefore the panel is simple and consists of the following (from left to right, top down):
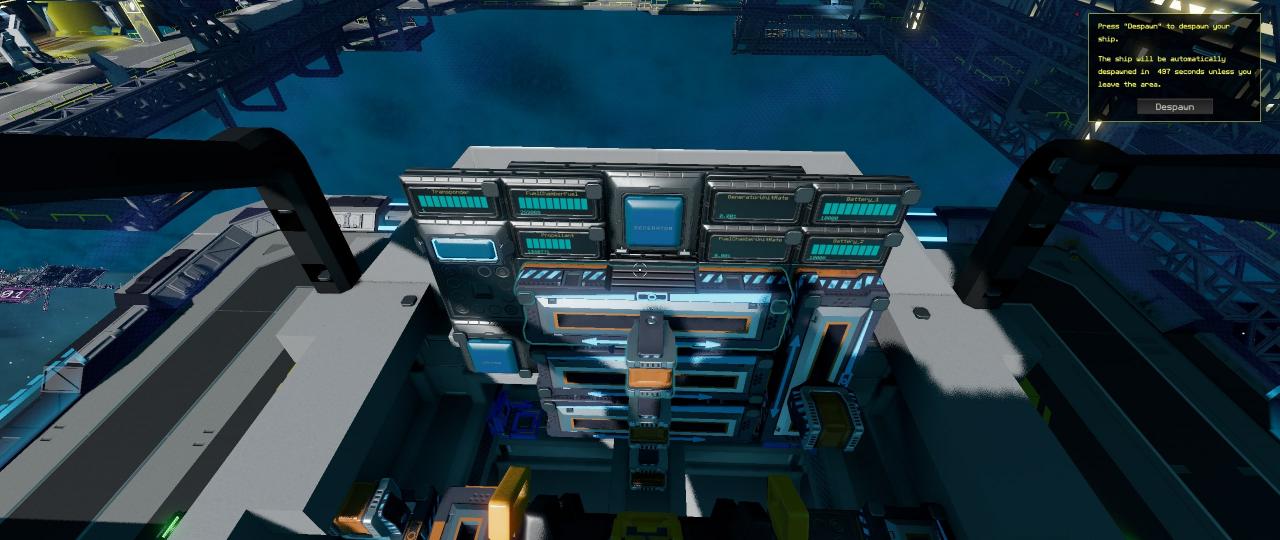
Transponder - ship beacon. It sends an "identification signal" at a distance of up to 100 kilometers. When it's on, other players will be able to see you on their HUD in outer space, taking into account the distance. If you are playing a party, it will be helpful to keep it powered up in a safe area. The signal itself contains the name of the owner and the name of the ship., also additional information about the state of the ship.
Cruise - the button turns on the constant speed mode. Add / Decrease speed via Shift and CTRL. Include, when you make a long flight, so as not to keep Shift all the time. Near stations, when landing, turn off when mining asteroids - this will make it easier to control the inertia of the ship.
FuelChamberFuel - reflects the fuel stock for the generator. Consumable, when the generator is on.
Propellant - Reflects propellant stocks. It is consumed when the main engines are running.
Generator - turns on the generator. The generator provides the ship with electricity, which is necessary for the operation of engines, lasers, scanners, etc.. Powered by batteries. Generator consumes fuel from fuel rods (Fuel Rods). There is only one rod on the starting ship.. It makes sense to turn off the generator, when the ship does not perform movements and work, otherwise the generator will waste your fuel reserves.
GeneratorUnitRate - amount of energy, produced by the generator at the current time. "Generator speed"
FuelChamberUnitRate - the amount of fuel consumed by the generator.
Battery_1 and Battery_2 - battery charge. Batteries directly power the ship's electrical consumers.
There are tumblers in the center and sides. They "physically" duplicate control of the ship.. But there is usually no need to tug at them., since control is carried out from hot keys.
Talking about hotkeys worth mentioning, that they can be changed "on the fly" in the ship. To do this, press V. A table of keys will open with the ability to save / load a set.
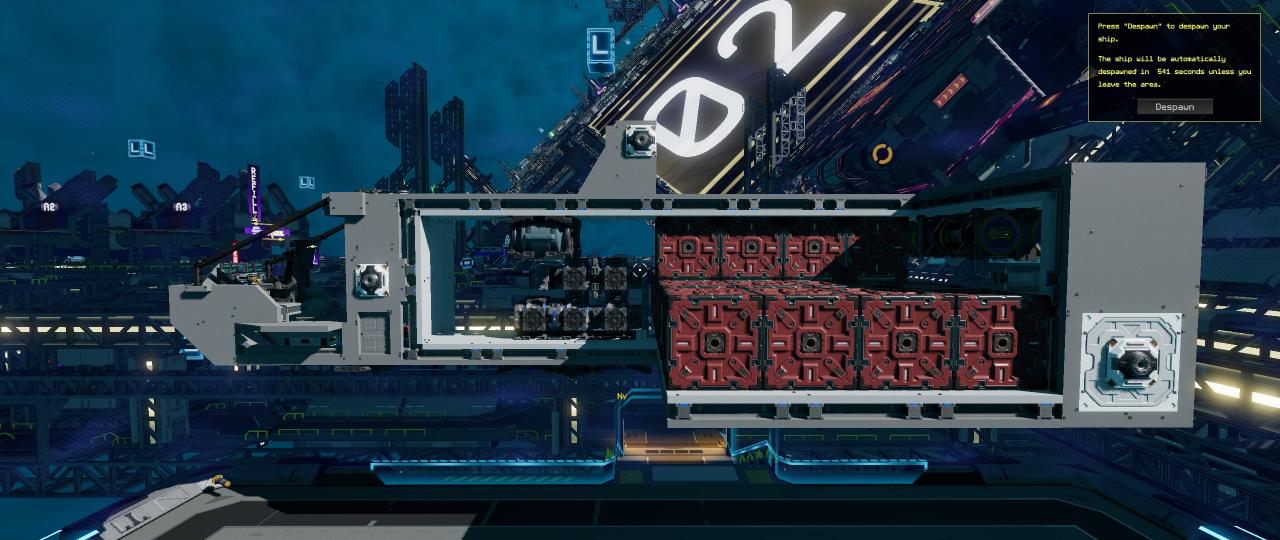
How to find out, that the ship spawned? Firstly, the "Spawn" button will become inactive. Secondly, you will have a "Despawn counter" in the upper right corner.
"Despawn counter" – this time, after which your ship will automatically respond (disappear).
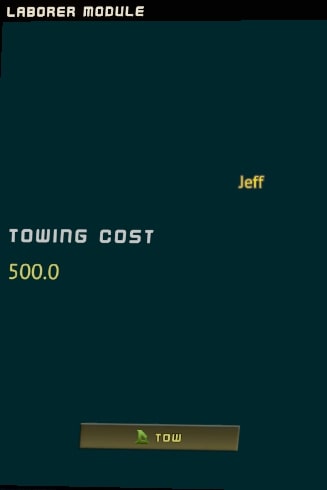
Sometimes, you can see instead of the spawn button the "TOW" button with the price (TOW COST) Is a towing service for your ship. The further you left the ship from the landing / takeoff zone, the more expensive the tug. Price within the station 500 credits. To avoid such costs, it is advisable to always return the ship to the landing / takeoff zone and do "Despawn".
To make the ship despawn, that is, put it in a virtual personal hangar, you need to fly onto the ship in the landing / take-off zone, in the area of the "force field". Then press Tab (includes a 2D cursor) and click the "Despawn" button in the upper right corner. Despawn can be done without leaving the cockpit or ship.
The quest is a continuation of the previous one. Without leaving the ship, we fly to the place, marked with an arrow. How to fly and controls in general are learned in the previous quest., therefore, there should be no difficulties with the flight. We direct the ship's course to the arrow using the QEWASD keys, turn on the generator, turn on the cruise, press Shift all the way (the switch on the left closer to the seat will move up to the stop) and wait until we reach the place, marked with an arrow.
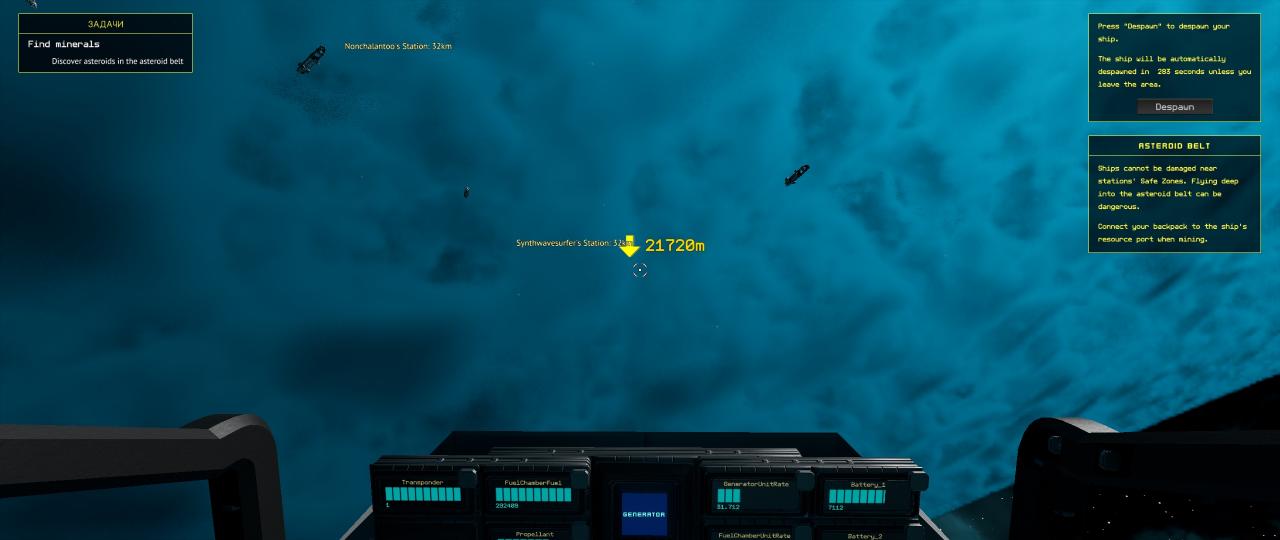
You are likely to reach asteroids earlier., but you need to fly exactly to that place, which is marked with an arrow, so that the quest script works correctly. I met asteroids before reaching the target position in 6 km.
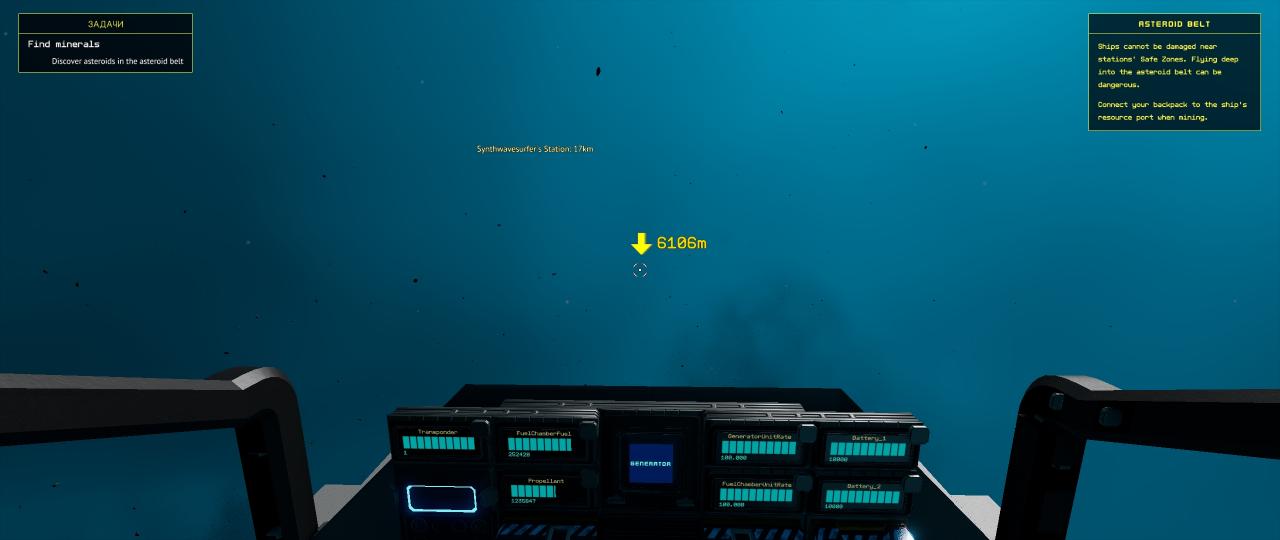
Upon arrival, you will receive two sub-tasks.. Connect to collection port (in fact, in the game it is called the "resource bridge") and collect materials. but, first you need to fly closer to the asteroid. Choose any, does not matter in this task, what kind of materials will you collect. Approximately in the distance 2-5 meters. Now hover over your pilot seat below you and press F, to leave it. Turning back, take off a little and connect to the resource collection port using the same F key. In your inventory, you will see the slots of the cargo ship. There you can observe the filling with cargo.
After connecting to the port, you can start collecting materials. The character's approach to the asteroid, we take out a pickaxe and get it. Pickaxe must be in inventory, double click on it, or put it in your hands. But it is more convenient to transfer it to the slot of the quick access panel.. Use the left mouse button to split, right – we extract. When you right-click with a pickaxe, the material is crushed, it is then vacuumed into your miner's backpack and dropped via a resource port connection into the cargo crates on the ship. The vacuuming process will stop, when there is no free space in the boxes.
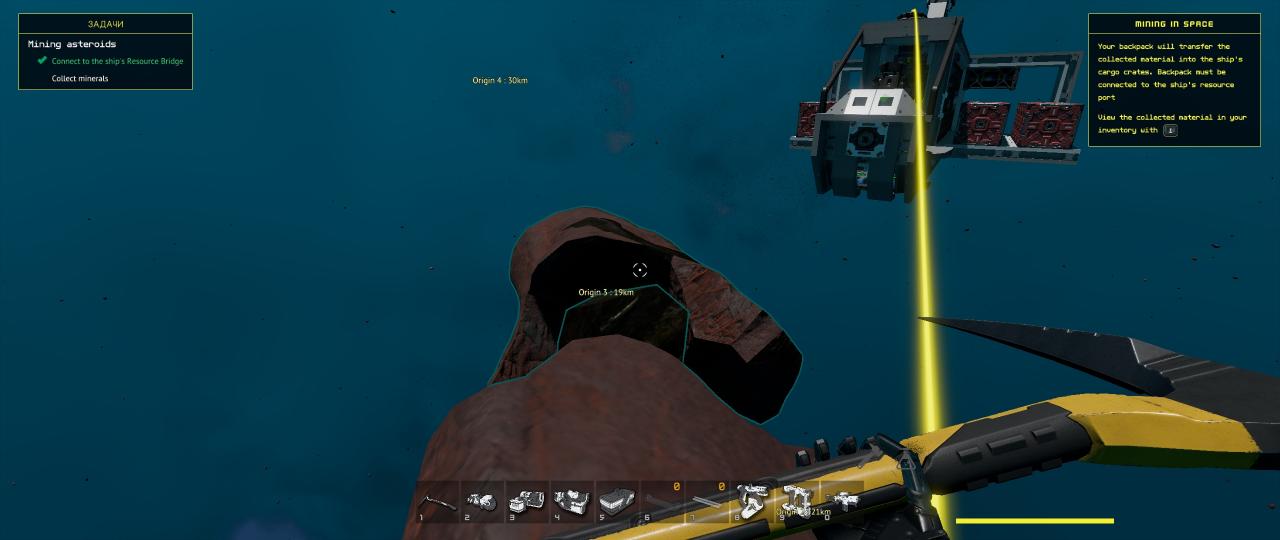
By the way, little life hack – the miner's backpack has two slots for materials (ore), but they don't automatically go there. Therefore, drag the ore from the crates of the ship into them.. So, you will be able to take away a little more materials.
As soon as the materials were typed to the eyeballs, you can fly home to your station. At a distance of ~ 2 km from the station, the quest will be completed. Do not forget to unload cargo from the ship. How to do this is written in the "Ship refueling" section.
Average, one way flight takes 7 minutes.
Another not obvious at first glance life hack – you can unload the ship without a direct connection to the station. As soon as you receive the chat message “[System]Channel connected[Station]"You can open inventory and unload goods on your personal station storage (case). Using drag and drop, double click, or, if you save time, – right-click on a ship cell, thus unloading all or almost all at once.
At the first stage, you will need to get a certain amount of Bastia and Vokariya ores. How to do it is up to you. That is, you can fly back to the asteroid belt and get the required amount of the indicated ores there.. You can go to one of three jobs, earn some credits and buy ore at the auction. And if you're lucky, the accumulated on the first sortie will be enough to close the stage.

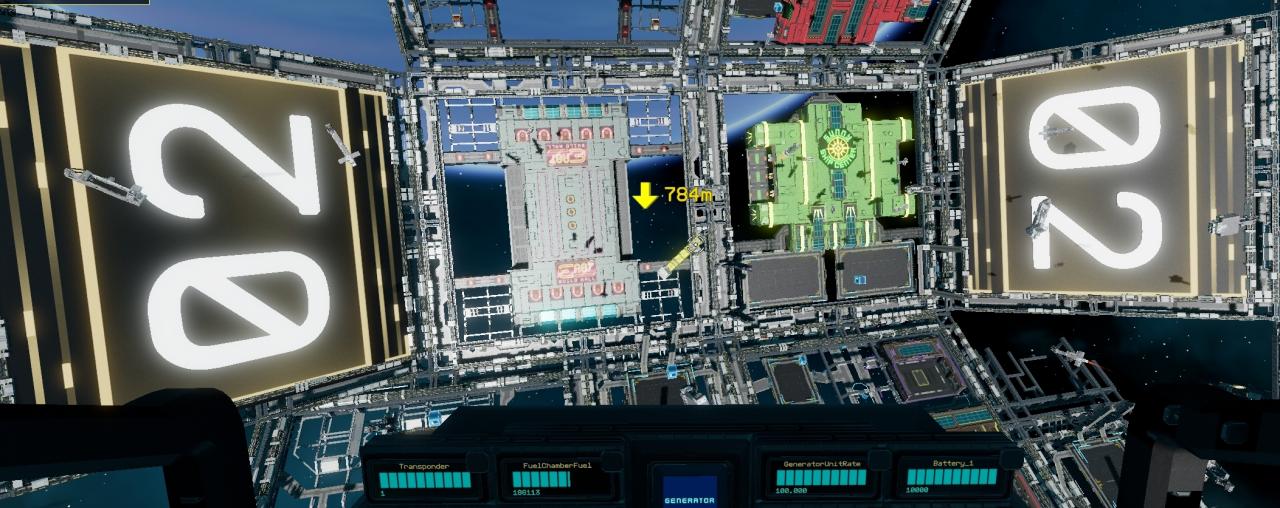
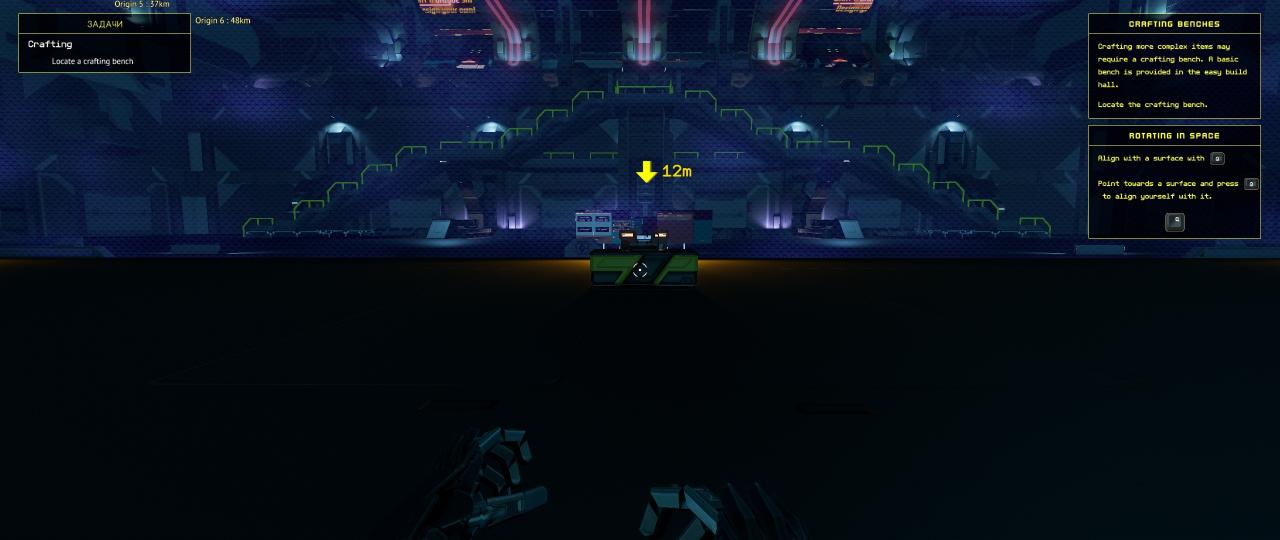
The second and third stages are performed in the Light Construction Hangar. (Easy Build). Find a hangar at the station, it is attached to the western "deuce" from the inside. You will have a different number depending on the location station. We fly to the hangar. It will have two virtual work zones. Zones are equivalent, but it's better to fly to the right, to be closer to the crafting table. Flew. We left the ship and go to the machine. Being at the workbench, endos can craft. You don't have to do anything with the workbench itself, you just need to approach him. As soon as we come, press H, which will open the crafting menu. In the menu, select "a block of 4 ore boxes", left click will start crafting. The number at the bottom of the icon shows, how much can you craft an item based on the available resources.
Hangar. View from above.
 Hangar workbench.
 Craft menu.

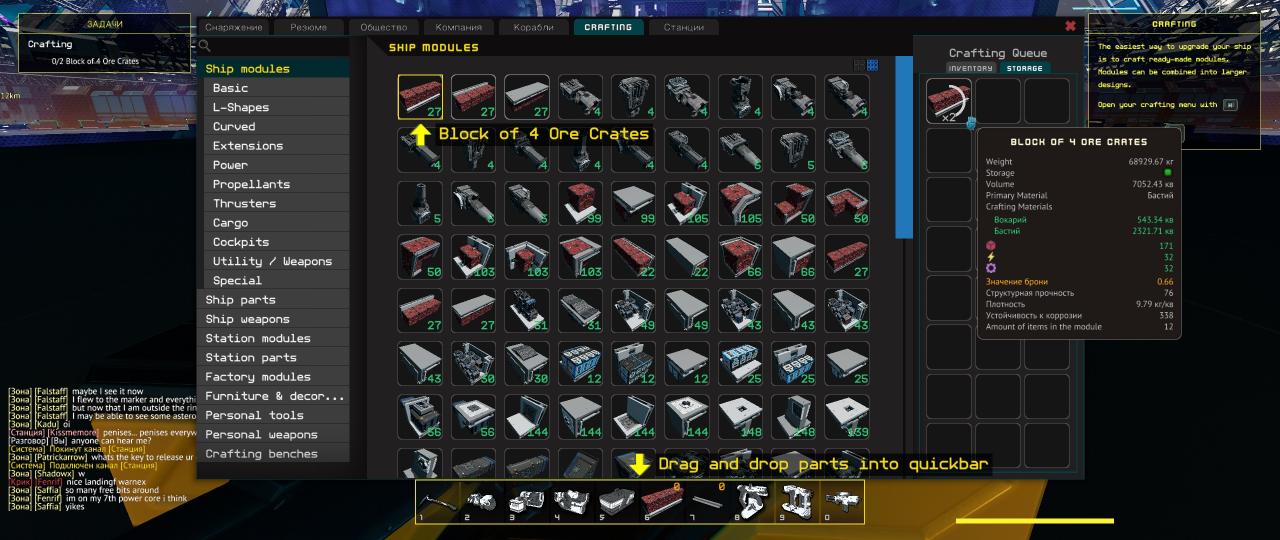
What to look for? Case, in the third part of the crafting interface there is an area "Crafting Queue". It's the crafting queue, items are displayed there, which are currently being crafted. Craft can be noted. And in the same area of the interface there are two tabs "inventory" and "storage". Switching between them changes the source of resources for crafting: where are your resources stored, that tab and choose.
Crafting object, being in the state of crafting can be dragged in advance to the quick access panel. You can add crafting to the queue right away 5, 10 or on all resources of the crafting object through the right mouse button. The workbench is needed only for that, to initiate crafting, you don't need to stand next to him. You can leave or even fly away. Upon completion of crafting, a notification will appear in the bottom corner of the screen..
The final step is, to attach crafted blocks to your ship, modernizing it in this way. The upgrade will allow more materials to be transported in a single trip.
Open the easy construction mode using the "." (point). The disk and the name of the ship will appear in the upper right corner - it means you are in easy build mode. It remains only to attach two blocks to the ship. Select blocks on the quick access panel and look for a place to attach the block. The first two blocks are placed on the sides, continuing the already established. Blocks are scrolled with the mouse wheel. Block, which can be set will be circled in green.

When the installation is done, exit easy build mode. Press point again. We sit in our ship and fly out of the hangar.
It is required to open a technology tree and study one of three technologies to choose from. The technology tree is opened with the K key, or by clicking on the "Show" button on the right in the yellow window (via Tab and only for the duration of this quest). All technologies in the game are divided into three types: basic, tools / weapons and advanced.
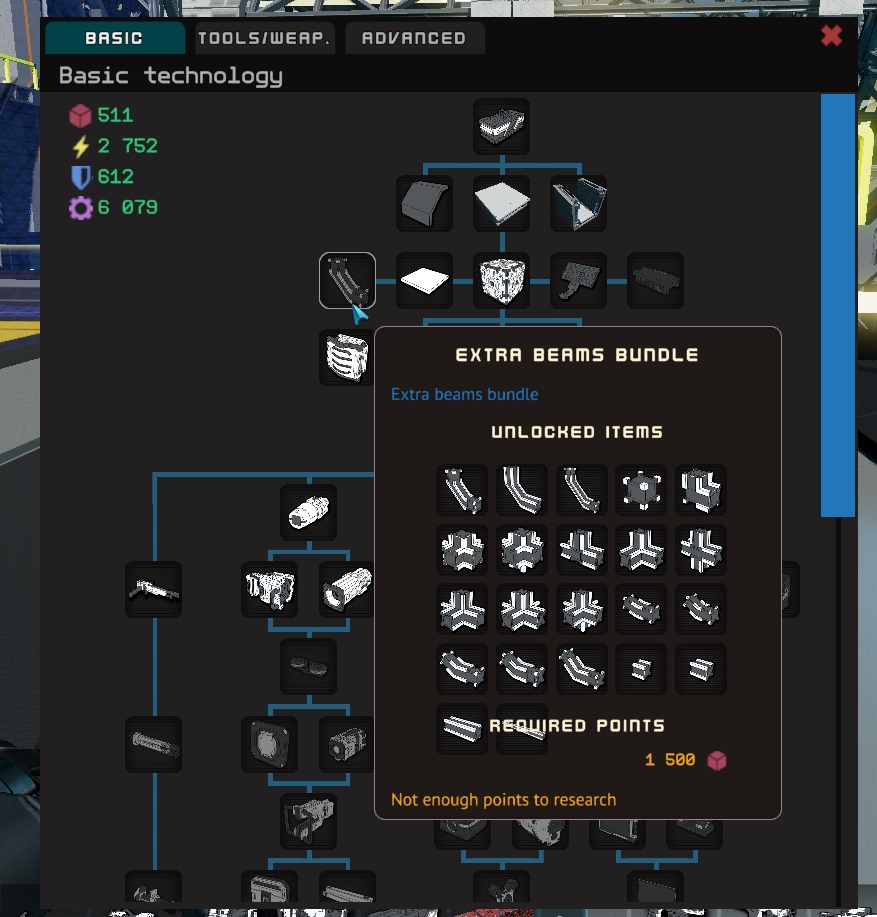
Basic: everything, what is related to the ship.
Tools / weapons: the only thing, what is worth adding, that these are personal weapons and tools. Ship weapons are not studied here.
Advanced: technology, station related.
For, in order to unlock technologies, it is required to comply with the conditions of the hierarchy and have a certain number of research points. Research points are subdivided into 4 kind: "Parts", "energy", "Fight" and "mechanics". These points are obtained through crafting. The crafting object gives a different number of certain points depending on the class of the crafting object, that is, if you need to get research points "energy", then you should craft electronics, cable, etc. The workbench in the Basic branch opens for free. One technology in a tree can open many items.
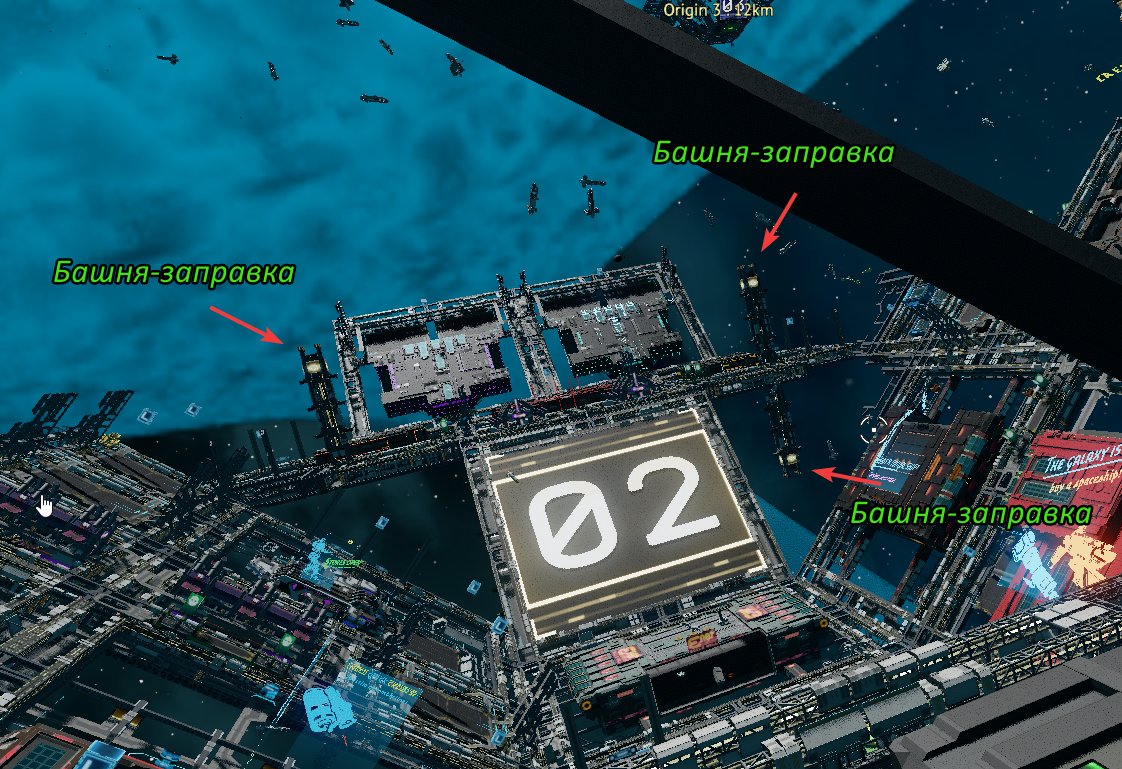
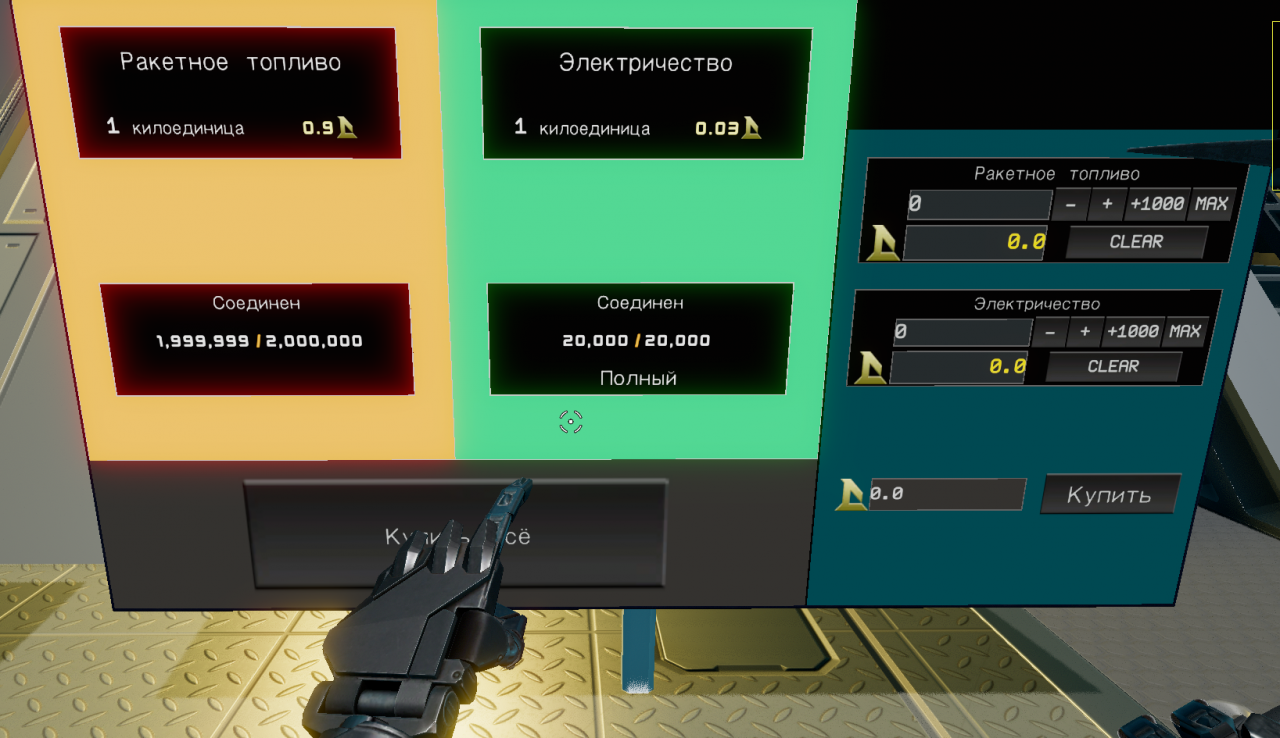
Such refueling is in progress at "Ore Storage". Ore Storage is easy to find – these gas stations are located behind the large digits of the station number on the left and right (west and east of the station). Are towers with multiple platforms. There are two terminals and a connection port on the platform. The left terminal shows the repositories. In this terminal, you can drop the cargo into the station warehouse or sell resources to the "server", subjects, assembly elements, etc.. The right terminal is responsible for refueling. The terminal displays the current and maximum values of the propellant quantity and battery charge. You can fill up any quantity or fill / charge completely at once. Don't forget to connect your ship with a port on the tower for exchange and refueling. Connect first to the port on the ship, then on the edge of the platform or vice versa. Otherwise, there will be no transfer of fuel / charge and cargo..
Current prices. Rocket fuel – 0.9, electricity – 0.03 for a unit.
Refueling the generator is a little more difficult.. Generator fuel is stored in rods and inserted into cells on the ship. On the novice ship Laborer Module, such a cell is located behind the seat in the back at the bottom.. The blue horizontal indicator on the stem cap reflects its charge. When a third of the charge is left or less, the indicator changes color to red.
How to replace a fuel rod? Walk up to the rod in the cell, hover over it (crosshair) and press E. This way you will take out the rod. The spent rod itself can be thrown into space, leave in inventory, bolt to the ship, put in the station storage or put in place "spare wheels". You decide. Now, a new rod needs to be installed in the cell. The Laborer Module has 4 spare rod. Stored at the back of the ship in bins, near the main engines. The cells are bolted to the upper beam. We also take out. We approach any cell, with the cursor on the rod cover, press E. We carry a new rod to the generator cell and insert it into the generator. Plugging into the generator for the first time can be a problem. Here hotkeys come to help.
Replacement hotkeys:
Right mouse button – holding allows rotation of the rod
Mouse wheel – moves the rod away or closer
FROM – automatically adjusts the bar to the cell, when rod and cell are near
Left mouse button or E – insert rod
In other words, for, to insert a rod, you need to match it as much as possible in space with a cell and press C, then E or LCM.
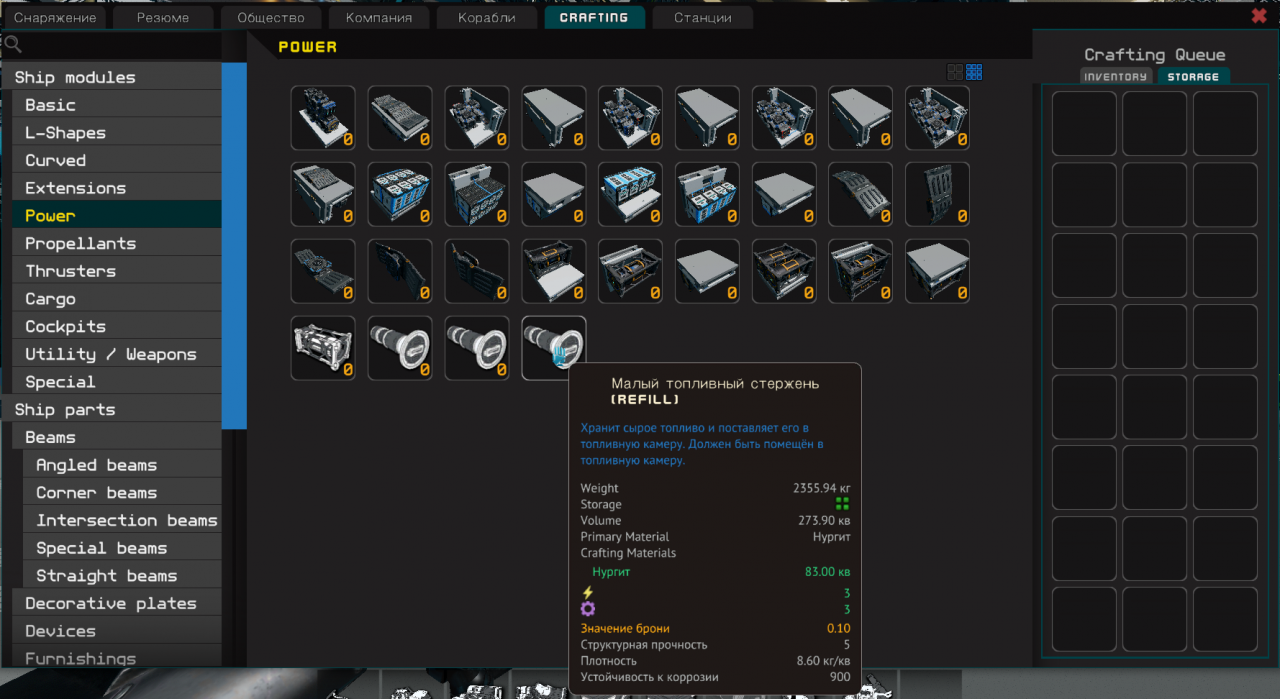
The spent rod can be left for refueling. Filling the rod with fuel is done through crafting. Open the crafting menu with the H key. Go to the Ship Modules tab -> Power (ship modules, food). Here, there are several options for crafting a fuel rod in the list. You can craft an empty rod, full or refuel empty. Choose the Small Fuel Rod option (Refill). Respectively, to fill the rod you need the fuel itself. In this case, Nurgit will act as fuel.. When you have enough Nurgita, left-click on the refill-variant of the rod to start crafting. Everything. The rod is tucked in.
New rods can be bought at the auction, to craft, or complete the Repair and Ship Control quests again.
Tell me how to store things? And then the current boxes for ore. Tool, beams and stuff