
This guide will describe the creation of add-ons and its further publication..
The manual does not contain detailed documentation on scripting!
Introduction
In this guide, you will learn:
– Pack creation and writing of its content.
– Preparing files for retexture.
– Writing a simple .GS file to compile.
– Pack’s own publication.
Let's start with the first step.
1-th stage – Preparation
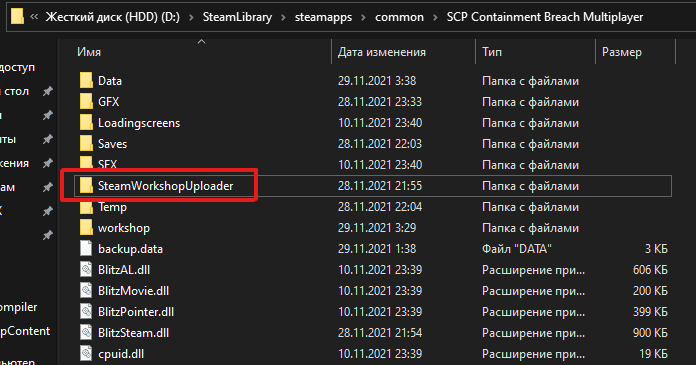
This folder "SteamWorkshopUploader" contains the things we need:
- 1. ScriptsCompiler compiles .GS files.
- 2. WorkshopContent contains future Packs.
- 3. SteamWorkshopUploader.exe name speaks for itself(Unloading addons / packs).
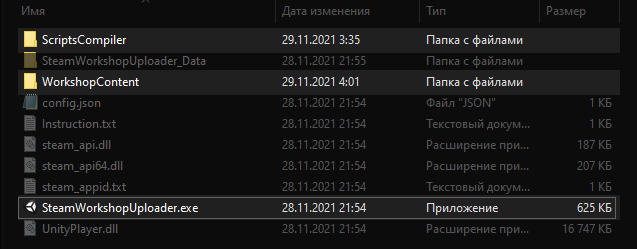
In the first step, we need to open "SteamWorkshopUploader.exe".
A window will open for us in which your future "mod packs" will be displayed in the left edge.
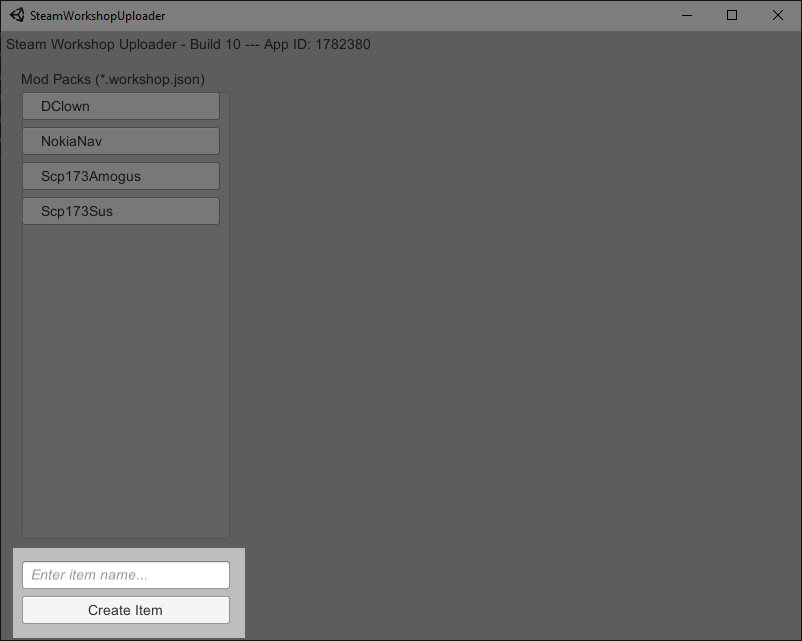
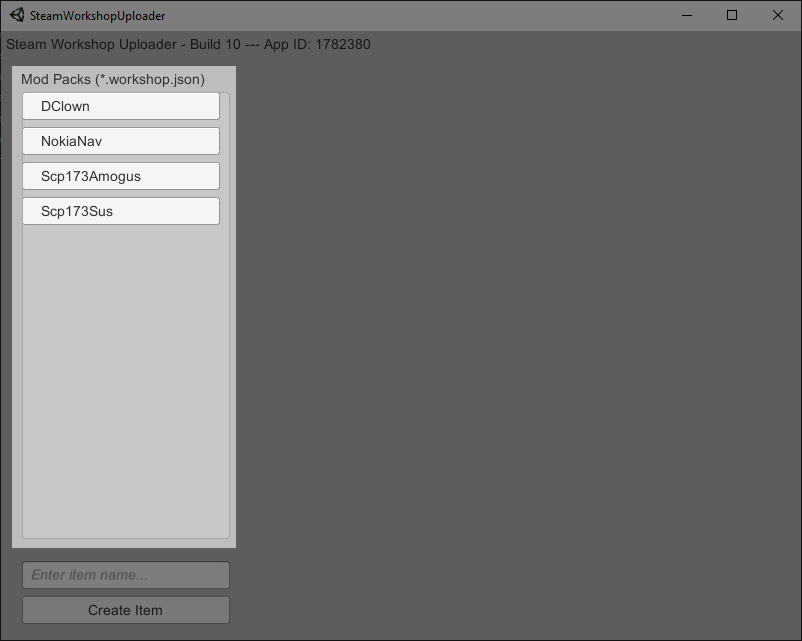 In the lower left corner, you can create a new Pack and enter its name in the text box.
I will name the future Pack "BatEveryDay" which means: batteries every day.
In general, we need to decide in advance on the content of our pack.
You have already figured out what to do, Yes?
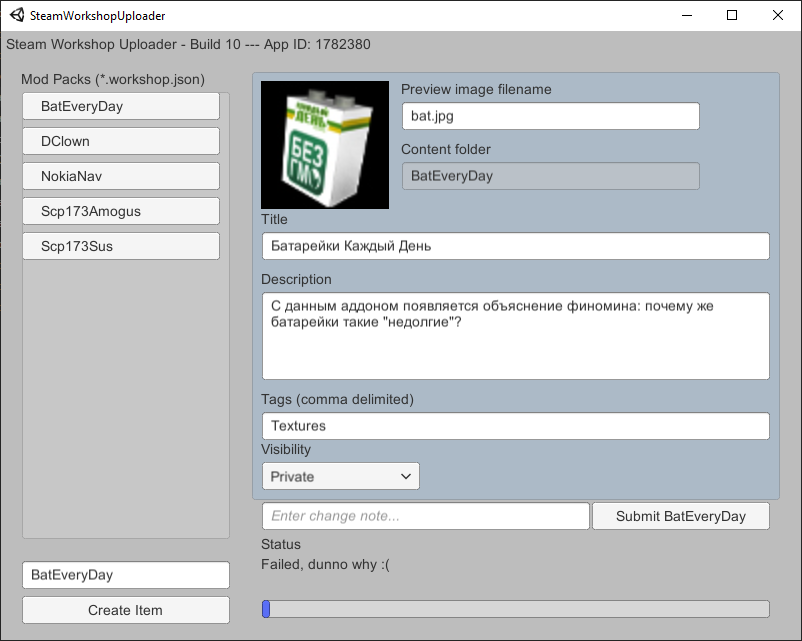
When you clicked on the "Create Item" button, then some sort of other part of the window will appear.
Also, you ALREADY created a page in the Workshop.
In this window we need:
- Specify Image (avatar, an icon, etc.).
- Specify the name of the mod pack.
- Specify description.
- Specify tags (Textures, Sounds, Models)
- Specify the type of stealth (I advise you to put Private for a start).
- In the text box "Enter change note" you indicate the change (for example: first version, bug fix, adding something.).
In my case, I filled it all in like this:
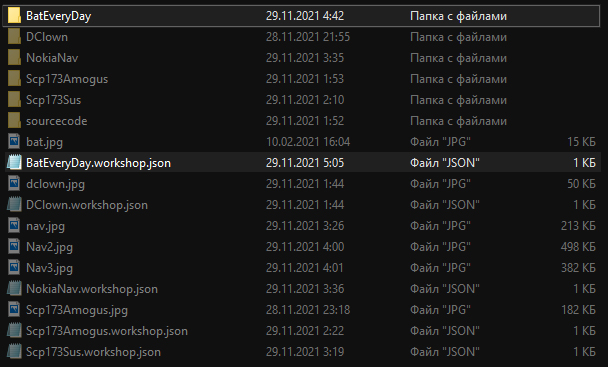
Well, now there is a new folder in the WorkshopContent folder with the name, which you entered in the lower left corner earlier. Also there is a new file [NAME].workshop.json, but it is not important.
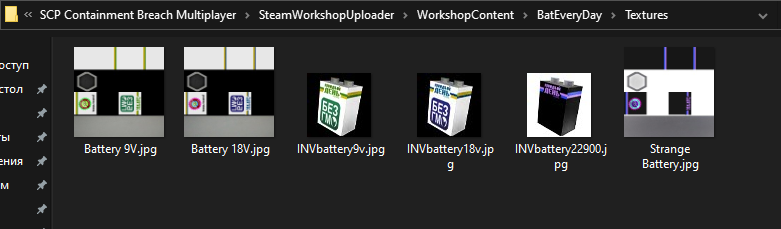
Your folder(in my case BatEveryDay), roughly speaking – is an archive with textures, sounds, models and scripts. (In my case, only with textures)
Since. my archive is a substitute for battery textures, then I can just drop the files just into this folder without problems, but, this is inconvenient if you will create large modpacks. Recommend to create folders for sorting or something, to make it more convenient for you. And yes, I just created a Textures folder to store future textures.
These textures will replace the original textures that are in the game folder.
By the way, these textures were taken from "SCP:CB S.A.L.O. " who made some person with the nickname 3TOKASHARA, but, It is me.
never mind.
Moving on to the second stage.
2-th stage – Writing a GS file
Without a .GSC file your Mod Pak will not work.
Go to the "ScriptsCompiler" folder and create a file with any name with the ".GS" format.
When will the file be created: right-click > to change (or open with…).
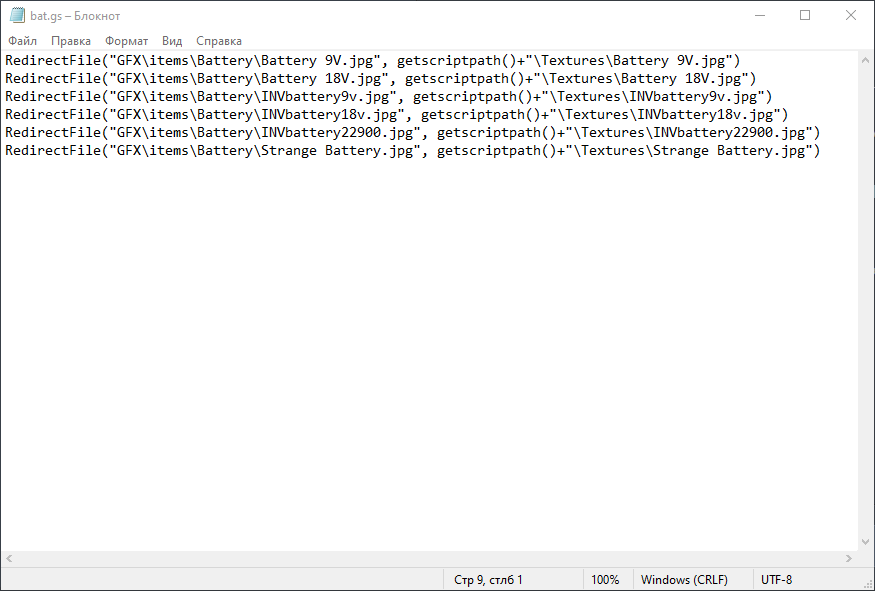
An example of an open document window:
Now we need to specify that, what I wrote above, namely, indicate the path A and B.
It should be written like this;
RedirectFile(“[ORIGINAL FILE PATH – BUT]”, getscriptpath()+”[NEW FILE PATH – B]”)
Example with replacing texture:
RedirectFile(“GFXitemsBatteryBattery 9V.jpg”, getscriptpath()+”\TexturesBattery 9V.jpg”)
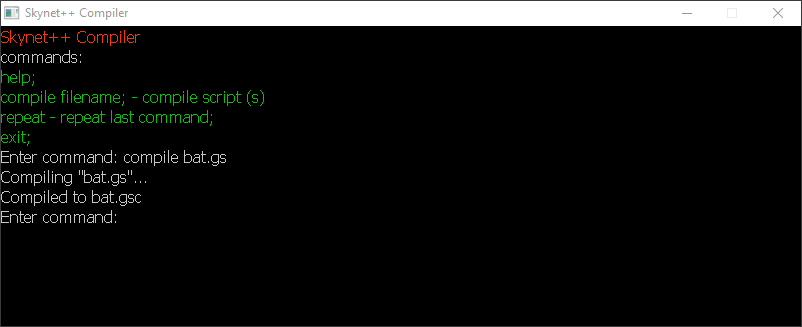
When you are sure, that your .GS "script" with the specified paths is ready, then save and go to compile the file.
To compile the file, we need to open "compiler.exe", and write the command "compile [NAME].gs» (GS file must be located in the same folder with the program). If you wrote something wrong, then the program will tell you why and for what reason. And if all is well, then the program will write "Compiled to [NAME].gsc».
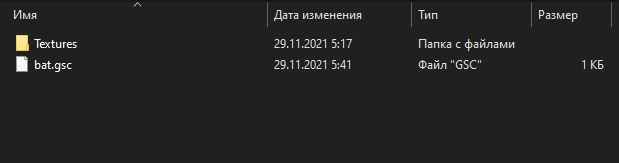
When the .GSC file is ready, then we need to put it in our mod pack:
IMPORTANT: do not add other files like readme.txt to the mod pack, or else the game will not start at all.
3-th stage – Check Pack’s mods
You must make sure, that the mod pack works correctly and everything suits you.
When the modpack is ready, you can go to the 4th stage.
In the last step, we again need "SteamWorkShopUploader.exe".
When open the program, then select your mod in the right corner and make sure that everything is correctly written and does not violate the principles of the Steam community.
About the Tags text box:
If your mod is a retexture, then write "Textures", but if your mod also changes sounds, and models, then write “Textures, Models, Sounds». Important, so that each tag is spelled correctly and separated by commas.
Now you can definitely publish your mod pack? Well then, to do this, click "Submit [FASHION NAME]"And preferably indicate" change "in the appropriate text box.
If everything went well, then you should see this inscription.
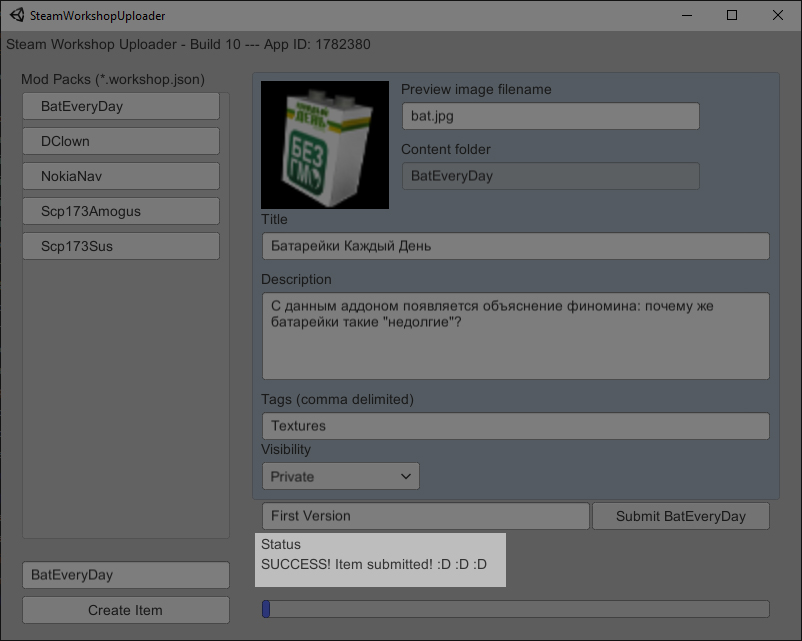
Now this modpack should be displayed in your workshop.
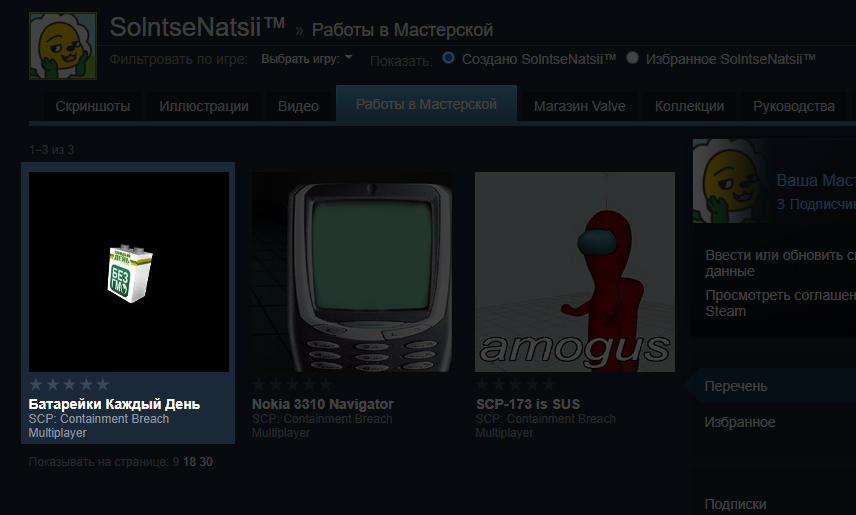
Outcomes
Worth saying: that it is a simple matter to checkout your modpack on the Steam Workshop, therefore self-explanatory. When you completely make the page, then do not forget to open access to all people, to show it in the Workshop.
If your mod does not work for some reason:
1. Wrong path written. Possibly the file path is case sensitive (Example: the folder is called “Textures” but the path is listed as “textures”).
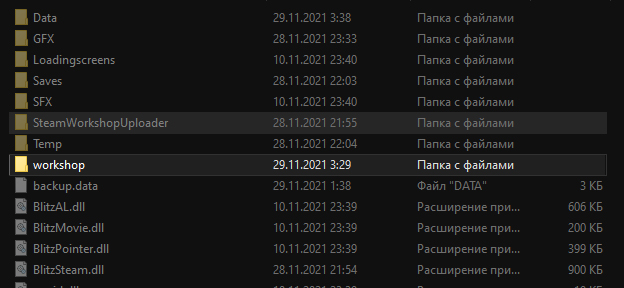
2. Incorrectly placed modpack in mod “workshop”.
Also in the folder “workshop” there is a backup, it contains files that have been successfully replaced.
Ie. if kneel.ogg was replaced successfully, then it will be in the Backup folder.
Related Posts:
- SCP Containment Breach Multiplayer: How to complete the campaign
- SCP Containment Breach Multiplayer: How to escape from grandfather's dimension
- SCP Containment Breach Multiplayer: Weapons in the game
- SCP Containment Breach Multiplayer: Key cards and where to find them
- SCP Containment Breach Multiplayer: Door codes
How to save the file in .gs?
How to create a .gs file?